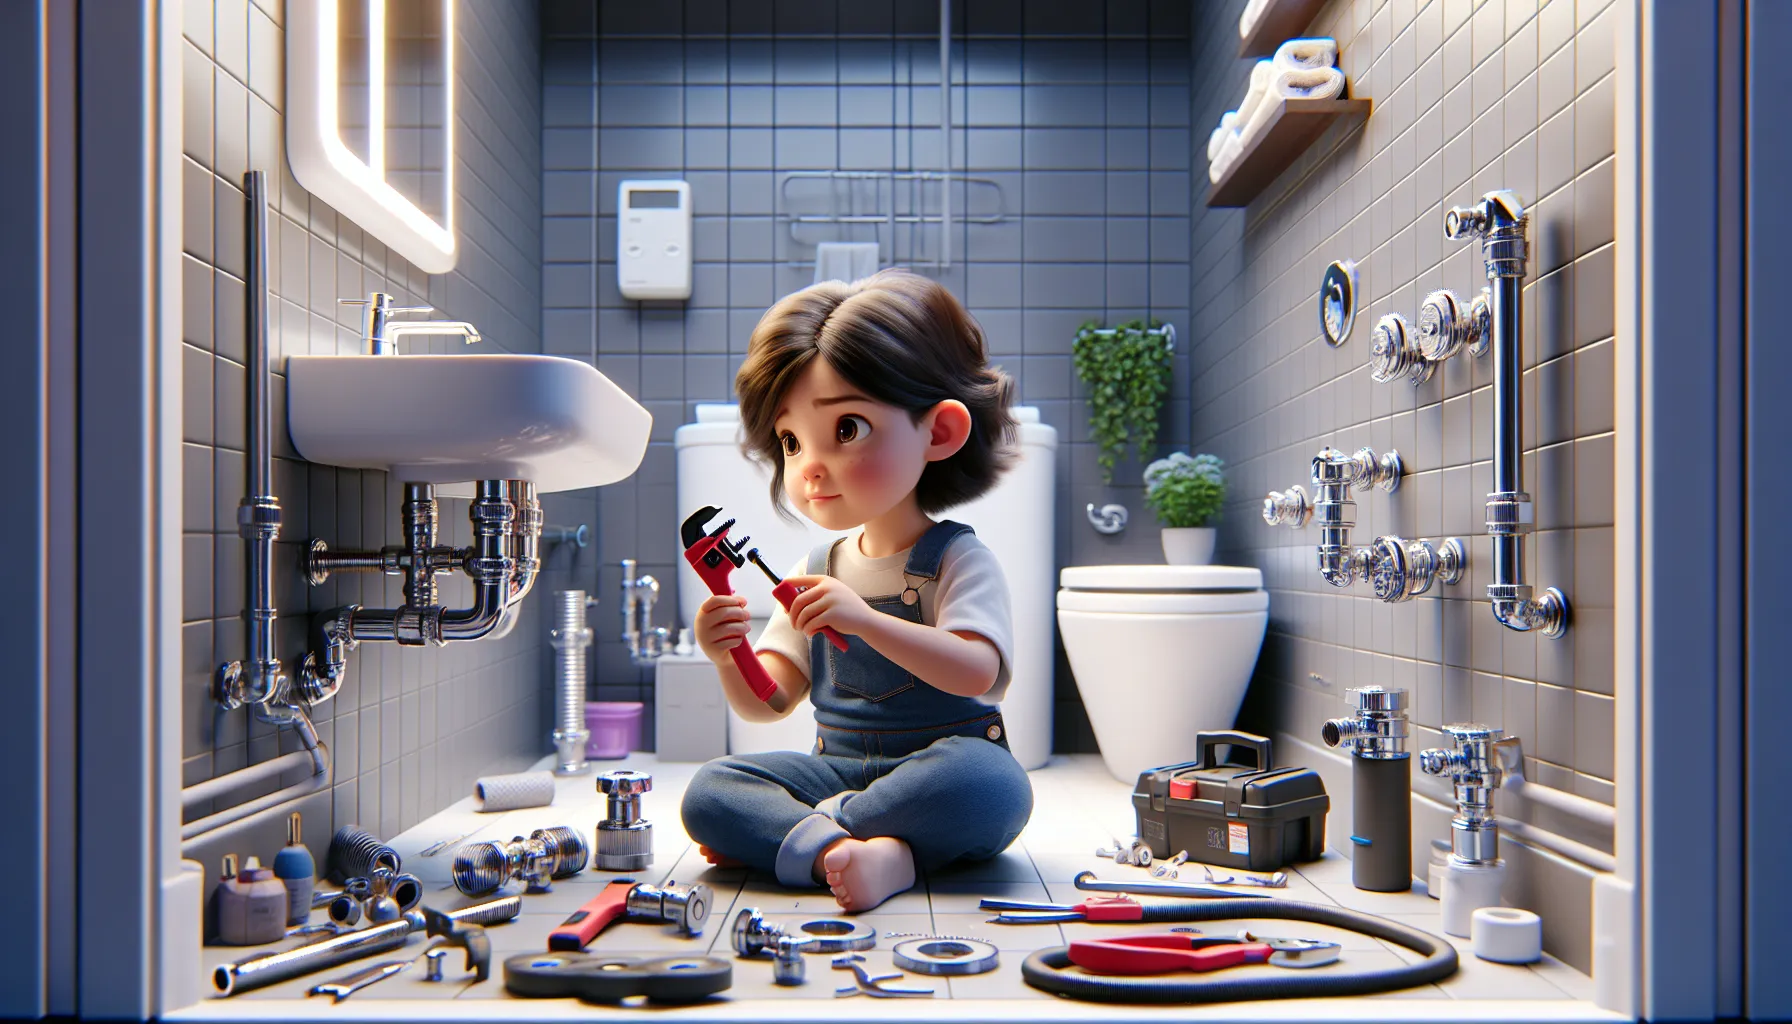
Most homeowners have experienced the irritating sound of a leaky faucet in their bathroom. Not only is the constant dripping noise annoying, but it can also lead to wasted water and increased utility bills. Learning how to address this common issue can save you time, money, and frustrations.
In this step-by-step guide, we will walk you through the process of fixing a leaky faucet in your bathroom. By following these instructions, you will be able to tackle this common household problem with confidence and have your faucet functioning like new in no time.
Key Takeaways:
- Identify the type of faucet: Determine if you have a compression, ball, cartridge, or ceramic disk faucet to know the right repair process.
- Gather the necessary tools: You will typically need an adjustable wrench, screwdriver, and replacement parts such as washers or O-rings.
- Shut off the water supply: Locate the shut-off valve under the sink and turn off the water before starting the repair to avoid leaks or water damage.
- Disassemble the faucet: Carefully take apart the faucet handle and internal components, noting the order of removal for easy reassembly.
- Replace faulty parts: Inspect and replace any damaged washers, O-rings, or seals to fix the leak, then reassemble the faucet and test for functionality.
Tools and Materials Needed
List of Essential Tools
Even though fixing a leaky faucet may seem like a daunting task, having the right tools can make the job much easier. The important tools you will need include an adjustable wrench, screwdrivers (both flathead and Phillips), pliers, a cloth or rag, and plumber’s tape. These tools will help you disassemble the faucet, identify the problem, and replace any faulty parts.
Identifying the Right Replacement Parts
The key to fixing a leaky faucet is identifying the right replacement parts. List down the make and model of your faucet, and determine whether it’s a ball, cartridge, ceramic disk, or compression type faucet. Once you have this information, you can purchase the necessary replacement parts from your local hardware store or online.
To ensure a successful repair, it is crucial to take note of the exact specifications of the replacement parts. Choosing the wrong parts can lead to further damage to your faucet and plumbing system.
Preparation Steps
Turning Off the Water Supply
Any successful repair job starts with preparation. Before you begin fixing a leaky faucet in your bathroom, you must turn off the water supply to avoid any flooding or accidents. Clearly locate the shut-off valves under the sink or near the water heater to stop the water flow to the faucet you are working on. Make sure to turn the valves clockwise until they are fully closed.
Clearing the Work Area
Supply yourself with a clear work area by removing any objects or products from under the sink. This will give you adequate space to maneuver and access the faucet easily. Wipe down the area with a clean cloth to prevent any debris from falling into the pipes while you work. Clearing the work area will ensure a smooth and efficient repair process.
Additionally, ensure that you have all the necessary tools and replacement parts within reach before starting the repair to avoid unnecessary delays. A well-organized work area can make the task much more manageable and prevent any potential accidents or mistakes.
Identifying the Type of Faucet
Compression Faucets
To identify a compression faucet, look for separate hot and cold water handles. These faucets have a screwable stem that compresses a rubber washer to control the water flow. Common in older homes, these faucets are prone to leaks due to wear and tear on the washers.
Washerless Faucets – Cartridge, Ball, and Disc Types
Faucets with a single handle for both hot and cold water are likely to be washerless. The three main types of washerless faucets are cartridge, ball, and disc. Cartridge faucets use a hollow passageway, while ball faucets use a single lever to control temperature and flow. Disc faucets have a single handle that moves up and down to adjust water volume and left and right for temperature.
- Cartridge faucets have a cylindrical cartridge that moves up and down to regulate water flow.
- Ball faucets use a ball bearing to control water flow and temperature.
- Disc faucets have a single lever that moves in all directions to adjust water temperature and volume.
- After identifying the type of washerless faucet, you can proceed with the appropriate repair method.
Identifying Washerless Faucets – Cartridge, Ball, and Disc Types
Ball faucets are known for their durability and ease of use. They contain a ball bearing that regulates the water flow and temperature. The most common issues with ball faucets occur when the springs and rubber O-rings wear out, causing leaks. It is important to carefully disassemble the faucet to replace these components and ensure a proper seal.
| Cartridge Faucets | Ball Faucets |
| Uses a cylindrical cartridge | Contains ball bearing |
| Moves up and down to control water flow | Regulates water flow and temperature |
| Common in newer homes | Durable and easy to use |
| Prone to cartridge wear and leaks | May experience issues with springs and O-rings |
| Requires replacement of cartridge for repair | Needs careful disassembly for maintenance |
Step-by-Step Repair Instructions
Keep the following repair instructions handy for fixing a leaky faucet in your bathroom:
| Compression Faucet Repair | Washerless Faucet Repair |
Compression Faucet Repair
Now, when it comes to fixing a leaky compression faucet, start by turning off the water supply to your sink. Next, remove the decorative handle cap, unscrew the handle screw, and take off the handle. Use an adjustable wrench to unscrew the packing nut and then remove the stem. Inspect the O-ring and washer for any signs of wear or damage. Replace these components if necessary and reassemble the faucet in the reverse order.
Washerless Faucet Repair
Reassembling a washerless faucet involves dismantling the handle and shroud, then unscrewing the bonnet nut to access the cartridge. Carefully remove the cartridge and inspect it for any cracks or mineral buildup. Clean or replace the cartridge as needed, then reassemble the faucet, making sure all components are tightly secured.
Replacing the cartridge in a washerless faucet is crucial for stopping leaks and ensuring proper water flow. If the cartridge is damaged or worn out, it can lead to continuous dripping and even more significant plumbing issues down the line. Ensure to use the correct replacement part and follow the manufacturer’s instructions for installation.
Tips for a Successful Repair
After identifying a leaky faucet in your bathroom, it is crucial to address the issue promptly to prevent water wastage and further damage. Here are some tips to ensure a successful repair:
- Gather the necessary tools and supplies before starting the repair.
- Shut off the water supply to the faucet to avoid any accidents.
- Refer to the manufacturer’s instructions or online tutorials for specific guidance.
- Take your time and work meticulously to avoid creating more problems during the repair process.
Any concerns or doubts during the repair process should prompt you to seek professional help to ensure the job is done correctly.
How-to Guide for Avoiding Common Mistakes
To prevent common mistakes during a faucet repair, it is necessary to follow these tips:
- Avoid overtightening components as it can lead to damage.
- Ensure all parts are installed correctly and in the right order.
Maintenance Tips to Prevent Future Leaks
Maintenance
- Regularly check for any signs of leaks or dripping faucets.
- Clean the aerator and internal components of the faucet to prevent clogs.
Knowing how to perform basic maintenance on your faucet can help in extending its lifespan and preventing leaks.
Guide
Proper maintenance of your bathroom faucet is crucial to ensure it functions efficiently and does not develop leaks. Regularly inspecting and cleaning the faucet can help in identifying any potential issues early on. Additionally, knowing how to perform basic repairs can save you money on hiring a plumber for minor issues. By following the tips and guidelines outlined in this post, you can maintain a leak-free faucet and preserve water in your home successfully.
Troubleshooting Common Issues
Dealing with Rust and Corrosion
Once again, a common issue that can cause a leaky faucet is rust and corrosion. There’s a chance that over time, the metal parts of your faucet may deteriorate due to exposure to moisture and minerals in the water. When these components degrade, it can lead to leaks in your faucet.
To address this problem, you may need to carefully disassemble the faucet and inspect the parts for any signs of corrosion. If you notice any rust or corrosion on the components, you can try using a penetrating oil to help loosen the parts for easier removal. Additionally, you may need to replace any severely damaged parts to prevent future leaks.
Solving Water Pressure Problems
Any homeowner may encounter water pressure problems with their faucet at some point. Corrosion, mineral buildup, or a faulty diverter valve can all contribute to water pressure issues in your bathroom faucet. If you notice a decrease in water pressure, it’s important to investigate and address the underlying cause.
Corrosion can restrict the flow of water through the faucet, leading to decreased water pressure. It’s important to clean or replace any corroded parts to restore the proper flow. Additionally, mineral buildup can also impede water flow, so regularly cleaning and maintaining your faucet can help prevent these issues.
Summing up
Conclusively, fixing a leaky faucet in your bathroom can be a relatively simple task that anyone can do with the right tools and instructions. By following the steps outlined in this guide, you can save money on water bills, prevent further damage to your plumbing, and ensure a properly functioning faucet in your home. Remember to turn off the water supply, gather the necessary tools, and carefully follow each step to successfully repair the leak.
With a little bit of time and effort, you can easily tackle this common household issue and become more confident in your ability to handle basic plumbing repairs. In the long run, learning how to fix a leaky faucet will not only benefit your wallet but also give you a sense of accomplishment as a DIY homeowner.
FAQ
Q: Why is my faucet leaking in the bathroom?
A: Faucets in the bathroom commonly leak due to worn out washers, seals, or O-rings. Sediment buildup can also cause the faucet to leak. Identifying the cause is crucial to fixing the leak.
Q: How can I determine the type of faucet in my bathroom?
A: To identify the type of faucet in your bathroom, you can look at the number of handles it has. A single-handled faucet is usually a ball, cartridge, or disk faucet, while a double-handled faucet is typically a compression faucet.
Q: What tools do I need to fix a leaky faucet in my bathroom?
A: You will need a set of wrenches, screwdrivers, a replacement washer or cartridge (depending on the type of faucet), and plumber’s tape. Make sure to have these tools on hand before starting the repair.
Q: How do I fix a leaky compression faucet in my bathroom?
A: To fix a leaky compression faucet, turn off the water supply, remove the faucet handle, unscrew the packing nut, and replace the old washer with a new one. Reassemble the faucet and turn the water supply back on to check for leaks.
Q: When should I consider calling a professional plumber to fix a leaky faucet?
A: If you have attempted to fix the leaky faucet in your bathroom following the proper steps and the issue persists, or if you are uncomfortable with DIY plumbing repairs, it is advisable to call a professional plumber to ensure the problem is resolved correctly.