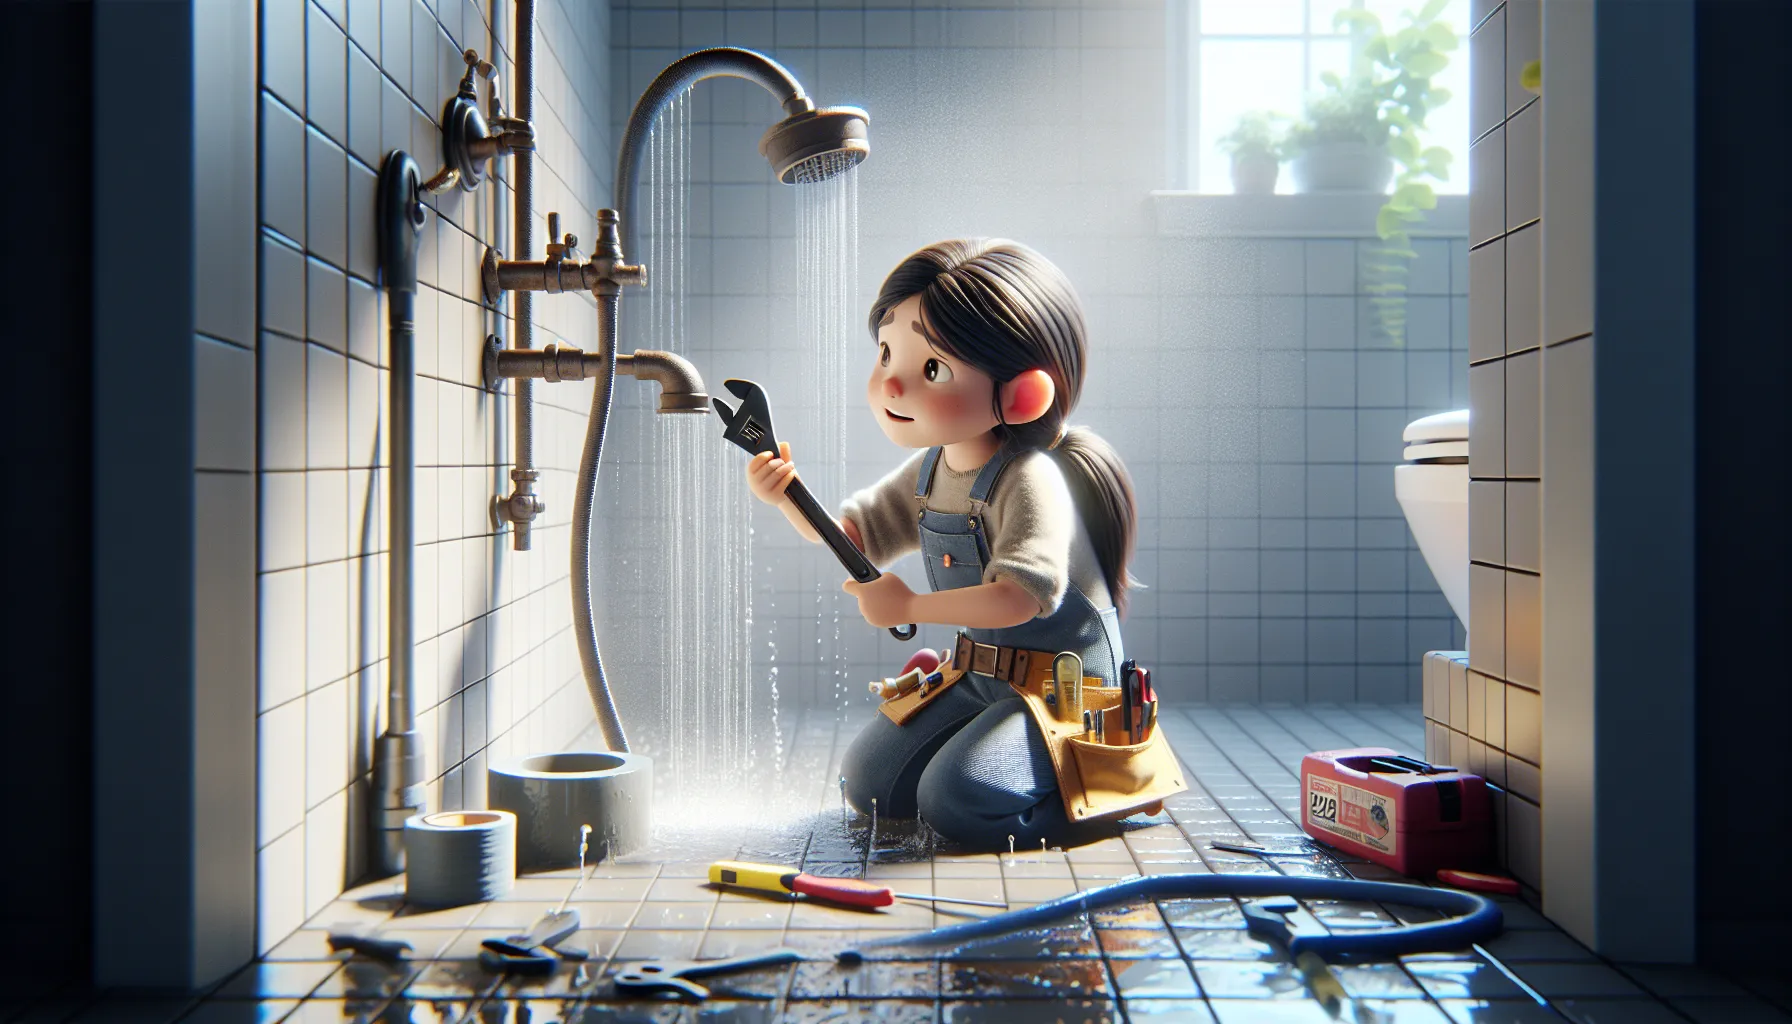
Most homeowners dread the sight of a leaking shower as it can lead to costly water damage and dangerous mold growth. In this guide, we will walk you through the step-by-step process of repairing a leaking shower to help you tackle this issue head-on.
From identifying the source of the leak to fixing the problem effectively, we will cover all the necessary steps to ensure your shower is waterproof and leak-free. Follow our expert advice and regain peace of mind knowing that your shower is in top condition.
Key Takeaways:
- Identify the source: Begin by determining the cause of the leak, which could be from the showerhead, faucet, or grout and caulking.
- Replace worn out parts: Check for worn out washers, O-rings, or damaged grout and replace them to prevent further leakage.
- Recaulk and seal: Use a high-quality silicone caulk to reseal the edges and seams of the shower to prevent water from seeping through.
- Test for leaks: After making repairs, run the shower to see if the leak persists and reevaluate if necessary to ensure a proper fix.
- Maintain regular checks: To prevent future leaks, periodically inspect the shower area for any signs of water damage and promptly address any issues.
Types of Shower Leaks
Some shower leaks are common and require different approaches to fix them. It’s imperative to identify the type of leak to determine the appropriate repair method. Let’s discuss the various types of shower leaks and how to address them.
| Faucet and Showerhead Leaks | Grout and Tile Leaks |
| Drain and Pipe Leaks | Door and Seal Leaks |
Faucet and Showerhead Leaks
Some common causes of faucet and showerhead leaks include worn-out washers, loose connections, or damaged parts. To fix these leaks, start by replacing the worn-out washers or tightening any loose connections. If the issue persists, it may be necessary to replace the faucet or showerhead altogether. Regular maintenance and checking for leaks can help prevent these problems from occurring.
Grout and Tile Leaks
Grout and tile leaks can be caused by cracked or deteriorating grout and loose or damaged tiles. It’s crucial to regularly inspect the grout lines and tiles for any signs of wear and tear. To repair grout and tile leaks, remove the damaged grout and replace it with a new one. Secure any loose tiles and seal the grout to prevent water seepage. Ignoring these leaks can lead to water damage and mold growth in the shower area.
Grout and tile leaks are often overlooked but can result in significant damage if left untreated. It’s important to address these leaks promptly to avoid costly repairs and potential health hazards associated with mold growth. Pay attention to any signs of water stains or soft spots in the grout or tiles, as these could indicate a leak that needs immediate attention.
Drain and Pipe Leaks
An unnoticed drain or pipe leak can cause water damage to the shower area and even lead to structural issues in the long run. Common reasons for drain and pipe leaks include loose connections, corroded pipes, or improper installation. Address drain and pipe leaks by tightening the connections, replacing corroded pipes, or seeking professional help for complex issues. Regularly inspecting pipes and drains can help prevent leaks and ensure the proper functioning of the shower system.
With routine maintenance and timely repairs, you can prevent costly water damage and mold growth caused by drain and pipe leaks. Don’t ignore any signs of leaks around the drain or pipes, as they can worsen over time and result in more extensive damage if not fixed promptly.
Door and Seal Leaks
Little cracks or gaps in the shower door or seal can lead to water leakage outside the shower area, causing damage to the surrounding walls and floors. Inspect the door and seal for any gaps or damages, and replace them if needed. Properly sealing the shower door and ensuring a tight fit can prevent water seepage and maintain the integrity of the shower enclosure.
Pipe leaks are a more serious issue that can cause extensive damage if not addressed promptly. Leaks in the pipes can lead to water wastage, increased water bills, and potential health hazards due to mold growth. Regularly inspecting and maintaining the shower pipes can help identify and fix leaks before they escalate. It’s important to seek professional help if you notice any signs of pipe leaks to prevent further damage to your shower system.
Factors Contributing to Shower Leaks
For many homeowners, dealing with a leaking shower can be a frustrating experience. Identifying the root cause of the leak is crucial in order to effectively repair it. There are several factors that can contribute to shower leaks, ranging from wear and tear over time to poor installation, hard water damage, and structural settlement issues.
Wear and Tear Over Time
Even the most well-maintained showers can experience wear and tear over time. Constant use of the shower can lead to deterioration of seals, grout, and caulking, which can result in leaks. It’s important to regularly inspect these areas for any signs of damage and address them promptly to prevent leaks.
Poor Installation
On occasion, shower leaks may be caused by poor installation. Improperly installed shower pans, drains, or waterproofing membranes can lead to water seepage and leakage. It is crucial to hire a qualified professional to ensure that your shower is installed correctly to avoid such issues.
Assume that if your shower is leaking shortly after installation, it may be due to poor installation practices. Contact the installer to rectify the issue before it causes further damage.
Hard Water Damage
To prevent hard water damage, it is important to understand the composition of your water supply. Hard water contains high levels of minerals like calcium and magnesium, which can build up in your shower fixtures and lead to leaks over time. Installing a water softener can help mitigate the effects of hard water and prolong the lifespan of your shower.
The presence of hard water can accelerate the deterioration of your shower fixtures and increase the likelihood of leaks. Addressing hard water issues proactively can save you from costly repairs in the future.
Structural Settlement Issues
Little cracks or shifts in the foundation of your home can cause structural settlement issues that manifest as leaks in your shower. These structural issues can compromise the integrity of your plumbing system and lead to water seepage. It is crucial to address any signs of structural settlement promptly to prevent further damage.
Wear and tear over time, poor installation, hard water damage, and structural settlement issues are all common factors that can contribute to shower leaks. By identifying the root cause of the leak and addressing it promptly, you can prevent further damage and prolong the lifespan of your shower.
Tools and Materials You Will Need
Many tools and materials are required for repairing a leaking shower effectively. Having the right equipment at hand will make the process smoother and ensure a successful outcome. Here is a breakdown of the important tools and materials you will need:
Basic Repair Toolkit
The basic repair toolkit should include: a screwdriver set, adjustable wrench, utility knife, silicone caulk, caulk gun, plumber’s tape, pipe wrench, pliers, and a flashlight. These tools will help you disassemble and reassemble parts of the shower to access the leaking area and make necessary repairs.
Specialized Plumbing Tools
The specialized plumbing tools important for shower repair include: a pipe cutter, tube bending springs, faucet valve seat wrench, and a basin wrench. These tools are designed specifically for plumbing tasks and will enable you to work on intricate parts of the shower system with precision.
Plumbing tasks require specialized tools to ensure proper fitting and sealing of pipes and fixtures. Investing in quality plumbing tools will not only make the repair process easier but also contribute to the durability of the repairs.
Sealing and Waterproofing Materials
Sealing and waterproofing materials you will need include: waterproof caulk, grout, waterproof sealant, and waterproof membrane. These materials are crucial for repairing leaks and preventing future water damage by ensuring a watertight seal in the shower area.
For instance, applying a waterproof membrane behind the tiles in the shower area can prevent water from seeping through the walls and causing structural damage. Using high-quality waterproof sealant will ensure that the repairs last longer and maintain their effectiveness over time.
Preliminary Steps Before Repair
Identifying the Source of the Leak
Despite a leaking shower being a common issue, the first step in repairing it is to identify the source of the leak. Water stains on the ceiling below the shower, peeling paint or wallpaper near the shower, and musty odors in the bathroom are all indications of a possible leak. Inspect the grout lines, tiles, and caulking in the shower for any signs of damage or wear that may be causing the leakage.
Turning Off Water Supply
Clearly, one of the most crucial steps before starting any repair work on a leaking shower is to turn off the water supply. Locate the shut-off valve for the shower, usually found near the shower or in the main water line for the house. Turning off the water supply will prevent any further leaking while you work on repairing the shower.
Plus, it’s important to drain the water from the shower pipes by turning on the shower faucet after shutting off the water supply. This will ensure that no water is present in the pipes when you start repairing the leak.
Preparing Repair Area
Identifying the exact area where the leak is coming from is crucial in preparing the repair area. Remove any damaged tiles, grout, or caulking in the identified area to expose the underlying problem. Use a scraper or chisel to carefully remove any old sealant or grout, making sure to clean the area thoroughly before proceeding with the repair.
This initial preparation is crucial to ensure that the repair is done effectively and will prevent any further leaking in the future. Take your time in preparing the repair area to ensure a successful and long-lasting fix for your leaking shower.
Step-by-Step Repair Guides
After identifying a leaking shower, it’s crucial to address the issue promptly to prevent water damage and mold growth. This step-by-step guide will help you effectively repair common sources of leaks in your shower.
| Fixing Faucet and Showerhead Leaks | Repairing Grout and Tile Leaks |
| Step-by-Step | Gaskets |
Fixing Faucet and Showerhead Leaks
Step-by-step, start by turning off the water supply to the shower. Use a wrench to disassemble the faucet or showerhead, inspect the components for damage, and replace any worn-out parts. Apply plumber’s tape to the threads before reassembling the fixture to ensure a tight seal and test for leaks once the water is turned back on.
Repairing Grout and Tile Leaks
Gaskets play a critical role in preventing leaks in the grout and tile. Over time, these gaskets can deteriorate, leading to water seepage. It’s important to inspect and replace any damaged gaskets to maintain a watertight seal. By addressing this issue promptly, you can prevent water from penetrating behind the tiles and causing structural damage.
Cleaning and maintaining the grout and tile regularly can also help prevent leaks by ensuring that the sealant remains intact. Use a mildew-resistant silicone caulk to seal any gaps or cracks in the grout to prevent water infiltration.
Addressing Drain and Pipe Leaks
One of the common sources of shower leaks is through drains and pipes. Inspect the drain for any signs of corrosion, leaks, or clogs. Replace the drain assembly if needed and ensure that the pipes are properly sealed to prevent water from escaping. Consider using waterproofing products to reinforce the connections and prevent future leaks.
The early detection and repair of drain and pipe leaks are crucial to prevent water damage and mold growth in your shower area. Regularly check the pipes for any signs of moisture or leaks and address any issues promptly to maintain the integrity of your shower system.
Sealing Door and Seal Leaks
Applying a waterproof sealant to the door and seals can help prevent leaks and water damage in your shower. Inspect the seals for any gaps or damage and replace them if necessary to ensure a proper fit. Use a silicone-based sealant to seal any gaps around the door frame and tracks to prevent water from leaking out.
Leaks around the door and seals can lead to water seepage onto the floor, causing damage to the surrounding areas. By sealing these areas properly, you can maintain a watertight enclosure and prevent issues related to water leaks in your shower.
Tips and Best Practices
All DIY enthusiasts should follow these tips and best practices to effectively repair a leaking shower and prevent further damage.
Preventative Maintenance
Best practice is to regularly inspect the shower area for any signs of leaks, such as water stains or mold growth. Ensure that all seals, grout, and caulking are intact and in good condition. Consider applying a waterproof sealant to the shower walls and floor to provide an extra layer of protection against leaks. This proactive approach can help avoid costly repairs and water damage in the future.
When to Seek Professional Help
Any leaks that are extensive, persistent, or involve major plumbing components should be addressed by a professional plumber. Ignoring these issues can lead to more serious damage to your home and potentially pose health risks due to mold growth. It’s crucial to act promptly and seek professional assistance when dealing with complex leak problems.
To
Pros and Cons of DIY Repair
| Pros | Cons |
| Cost-effective | May lack specialized knowledge |
| Empowering to fix issues yourself | Risk of causing more damage |
| Can learn new skills | Time-consuming |
Seek
Professional help when you encounter challenges beyond your expertise or if the repair job is too complex. Ignoring warning signs or attempting repairs beyond your skill level can result in costly damage and potential safety hazards. Remember to prioritize your safety and the long-term integrity of your home when deciding whether to tackle a leaking shower repair on your own.
Summing up
With these considerations in mind, repairing a leaking shower can be a manageable task if approached methodically. Start by identifying the source of the leak, whether it be from the showerhead, faucet, or grout lines. Once you have pinpointed the issue, gather the necessary tools and materials to fix it properly. Remember to turn off the water supply before beginning any repairs to ensure a safe working environment.
By following the steps outlined in this guide, you can confidently tackle the task of repairing a leaking shower. Regular maintenance and prompt attention to any leaks can help prevent costly water damage in the long run. If you encounter a problem beyond your skill level, don’t hesitate to contact a professional plumber for assistance. Taking proactive steps to address a leaking shower can save you time, money, and frustration in the future.
FAQ
Q: What are common causes of a leaking shower?
A: Common causes of a leaking shower include worn-out seals, cracked tiles, damaged grout, and a faulty shower pan.
Q: How can I identify a leaking shower?
A: You can identify a leaking shower by water stains on the ceiling below, musty odors, peeling paint or wallpaper, and the presence of mold or mildew.
Q: Can I repair a leaking shower myself?
A: Yes, you can repair a leaking shower yourself by replacing seals, regrouting tiles, fixing the shower pan, or using a waterproof sealant.
Q: What tools do I need to repair a leaking shower?
A: You will need tools such as a caulking gun, silicone sealant, grout, grout saw, waterproofing membrane, screwdriver, and utility knife.
Q: When should I consider hiring a professional to repair my leaking shower?
A: You should consider hiring a professional to repair your leaking shower if you are unsure of the cause of the leak, if the damage is extensive, or if you are not confident in your DIY skills.


