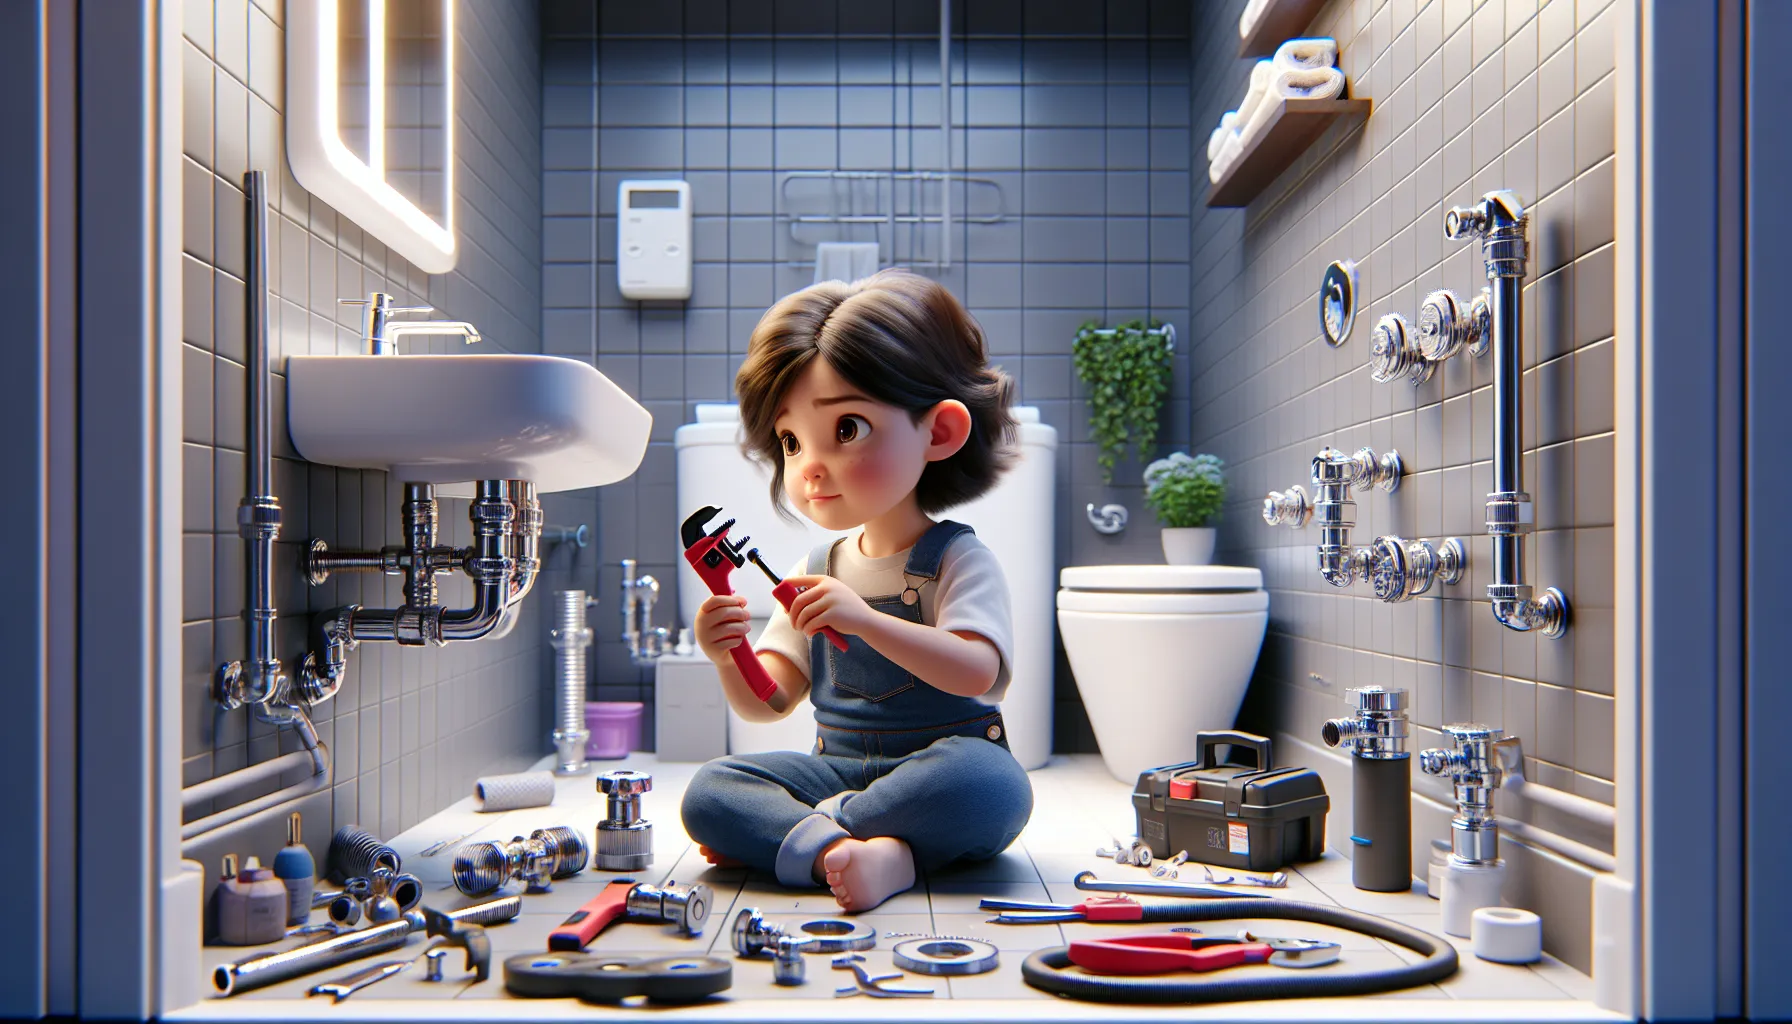
There’s no need to reach for the phone and call a plumber every time a faucet starts leaking or looks outdated. With the right tools and a little know-how, replacing a faucet can be a straightforward and rewarding DIY project. In this guide, we will walk you through the steps to replace a faucet in your kitchen or bathroom, saving you time and money in the process.
Key Takeaways:
- Proper Tools: Make sure to have the necessary tools such as a wrench, screwdriver, and plumber’s tape before starting the faucet replacement process.
- Turn Off Water Supply: Always remember to turn off the water supply before removing the old faucet to avoid any water leaks or damage.
- Clean Area: Clean the area around the faucet thoroughly before installing the new one to ensure a proper and secure fit.
- Follow Instructions: Read and follow the manufacturer’s instructions carefully to ensure correct installation of the new faucet.
- Test for Leaks: After installing the new faucet, test for any leaks by turning on the water slowly and checking for any drips or puddles.
Types of Faucets
Any homeowner looking to replace a faucet will encounter various types of faucets in the market. It is crucial to have a basic understanding of the different faucet types to make an informed decision. Knowing the characteristics of each type will help you select the best faucet for your needs.
| Compression Faucets | Ball-Type Faucets |
Compression Faucets
An imperative type of faucet is the compression faucet. These faucets have been around for a long time and are recognizable by their two separate handles for hot and cold water. The operation of a compression faucet involves a washer being compressed against a valve seat to control the flow of water. Over time, the washers may wear out, causing leaks.
Ball-Type Faucets
Faucets are one of the most common types found in many kitchens. These faucets utilize a single handle to control both the temperature and flow of water. Inside the faucet, there is a ball valve that mixes hot and cold water to achieve the desired temperature.
Ball-Type faucets are known for their durability and ease of use. They are less prone to leaks and drips compared to other faucet types, making them a popular choice for many homeowners.
| Cartridge Faucets | Ceramic-Disk Faucets |
Cartridge Faucets
Now, cartridge faucets are becoming more popular due to their reliability and ease of maintenance. These faucets use a cartridge to regulate water flow and temperature. They are known for their smooth handle operation and longevity.
To ensure the longevity of cartridge faucets, it is imperative to clean the cartridges regularly and replace them if needed. With proper maintenance, cartridge faucets can provide years of trouble-free service.
Ceramic-Disk Faucets
Types of ceramic-disk faucets. These faucets are known for their advanced technology and superior performance. They use ceramic discs to control the flow and temperature of water. Unlike other types of faucets, ceramic-disk faucets are less prone to leaks and drips.
CeramicDisk faucets are durable, long-lasting, and offer smooth handle operation. They are an excellent choice for those looking for a high-quality, low-maintenance faucet for their kitchen or bathroom.
Pros and Cons of Different Faucet Types
| Pros | Cons |
Faucets are an imperative feature in any home, providing access to clean water for various activities. Understanding the different types of faucets available will help you make an informed decision when replacing your old faucet.
Tools and Materials
Essential Tools for Faucet Replacement
Keep in mind that having the right tools will make the faucet replacement process much smoother. Some necessary tools you will need include an adjustable wrench, basin wrench, flashlight, scrub brush, and plumber’s tape. These tools will help you loosen and tighten fittings, clean the area, and ensure a secure connection.
Materials and Accessories
On your shopping list for faucet replacement, make sure to include the new faucet, water supply lines, plumber’s putty or silicone caulk, and safety goggles. The new faucet should match the existing setup to avoid any compatibility issues. Water supply lines are necessary for connecting the faucet to the water source. Plumber’s putty or silicone caulk will help create a watertight seal, and safety goggles are crucial for eye protection during the installation process.
You can personalize your faucet replacement project by adding extra accessories like a soap dispenser or a side sprayer. These accessories can enhance the functionality and aesthetics of your kitchen or bathroom sink. Consider the style and functionality you desire when selecting additional accessories to complement your new faucet.
Understanding
Note, safety should always be a top priority. When working with tools and materials, be cautious of sharp edges, hot water, and electrical components. Ensure that the water supply is shut off before starting the replacement process to avoid any water damage or accidents. Following manufacturer’s instructions for installation is crucial to ensure a proper fit and function of the new faucet. By using the right tools and materials, you can successfully replace your faucet and enhance the look of your kitchen or bathroom.
Factors to Consider Before Replacing a Faucet
Compatibility and Sizing
For a successful faucet replacement, it is crucial to consider compatibility and sizing factors. Some important points to keep in mind include the type of sink or countertop you have, the number of mounting holes, and the space available for the new faucet.
- Measure the distance between the mounting holes to ensure the new faucet will fit properly.
- Check the spout reach to make sure the water stream will fall into the sink without splashing onto the countertop.
- Consider the height of the faucet to accommodate any large pots or pans you may need to wash under it.
Assume that ignoring these factors could result in a faucet that doesn’t fit or functions properly.
Budget and Cost Implications
There’s no denying that budget plays a significant role in the decision to replace a faucet. Before begining on this project, take into account the cost of the new faucet, any additional plumbing supplies you may need, and the potential expenses of hiring a professional for installation.
- Research different brands and models to find one that fits within your budget without compromising on quality.
Before making a purchase, also consider the potential long-term savings that a more efficient faucet can provide in terms of water usage and bills.
Before plunging into the installation process, make sure you understand the various factors that could impact your overall expenditure. If you’re not sure about certain costs, consult with a professional or a knowledgeable sales associate to get a better idea of what to expect.
Aesthetic and Design Preferences
Design is a crucial aspect when it comes to replacing a faucet. Before committing to a specific style, take the time to consider your aesthetic preferences and how the new faucet will complement the overall design of your kitchen or bathroom.
- Look for finishes and styles that match your existing fixtures and decor to create a cohesive look.
- Consider the ergonomics of the faucet handle for ease of use and maintenance.
Take measurements and pictures of your current setup to ensure the new faucet will enhance the visual appeal of the space.
Before making a final decision, remember that the faucet is not just a functional element but also a visual focal point in the room. Investing in a high-quality, visually appealing faucet can significantly enhance the overall aesthetic of your kitchen or bathroom.
Water Efficiency Standards
A faucet’s water efficiency can have a significant impact on your household’s water consumption and bills.
- Look for faucets that are WaterSense certified, indicating that they meet strict efficiency and performance standards.
- Consider opting for a low-flow faucet to reduce water wastage without compromising on performance.
Another important consideration is the type of valve mechanism the faucet uses, as this can affect both water efficiency and durability.
Another important aspect to consider is the potential savings on your water bills over time by investing in a more water-efficient faucet. Not only is this better for the environment, but it can also lead to significant cost savings in the long run.
Preparatory Steps
Shutting off the Water Supply
All good things start with preparation. Shutting off the water supply is the crucial first step in replacing a faucet. This will prevent any unexpected leaks or water damage while you work on the installation. Look for the shut-off valves located under the sink – turn them clockwise to close them tightly. Next, open the faucet to make sure the water supply is indeed turned off.
Removing the Old Faucet
Likewise, removing the old faucet is a necessary step in the process. Begin by finding the access panel, where you can reach the nuts and bolts attaching the faucet. Use a wrench to loosen and remove them, making sure to keep track of all the parts for easy reference later. Once you have disconnected everything, lift the old faucet out carefully to avoid any damage to the sink or surrounding area.
Supply
For those new to DIY projects, removing the old faucet may seem intimidating, but it’s a straightforward process. Take your time and follow the manufacturer’s instructions if needed. You may encounter some resistance when unscrewing certain parts, so be sure to use the correct tools and techniques. Be mindful of, the goal is to remove the faucet efficiently and safely without causing any damage.
Preparing the Workspace
Preparation of the workspace is key to a successful faucet replacement. Clear out any clutter around the sink area to give yourself ample room to work. Lay down some towels or a drop cloth to protect the countertop and floor from any water or debris that may come loose during the installation process. Additionally, gather all the necessary tools and replacement parts beforehand to streamline the process.
One vital aspect of preparing the workspace is to ensure that you have enough lighting to see clearly. Consider using a headlamp or positioning a bright LED light near the work area. This will help you identify any small components or potential issues during the installation. Good lighting can make a significant difference in the ease and accuracy of your work.
For instance, be cautious when working with water connections, as even a small leak can cause significant damage if left unchecked. Always double-check that the water supply is completely turned off before proceeding with the replacement. Additionally, take note of any electrical outlets near the workspace and make sure to keep them dry to avoid any safety hazards. Be mindful of, safety should always be a top priority when working on any plumbing project.
Step-by-Step Faucet Replacement Guide
Step 1: Inspecting the New Faucet
Assuming you have purchased a new faucet for replacement, the first step is to inspect the contents of the package. Check for any visible damage, missing parts, or manufacturer’s defects. Ensure that all the necessary components are included, such as the faucet, handles, spout, and any additional hardware.
Inspecting the new faucet before beginning the replacement process will save you time and frustration later on. It is vital to verify that the new faucet is the correct model and style for your sink and that it fits properly before moving on to the installation process.
Step 2: Positioning the Faucet
Some faucets come with a gasket or rubber seal that needs to be placed between the faucet and the sink. Ensure that this gasket is in place before positioning the faucet onto the sink. Once the gasket is in place, align the faucet with the mounting holes on the sink and press it down firmly to create a seal.
Step 3: Attaching Water Supply Lines
With the faucet in position, it is time to attach the water supply lines. Connect the hot and cold water supply lines to the corresponding valves under the sink. Use an adjustable wrench to tighten the connections, ensuring that they are secure but not over-tightened to avoid damaging the fittings.
It is crucial to check for any leaks at this stage by turning on the water supply and inspecting the connections. If you notice any leaks, tighten the connections further or reposition the supply lines until the leaks stop.
Step 4: Securing the Faucet
Guide the faucet into its final position and use a wrench to tighten the mounting nuts underneath the sink. Make sure the faucet is securely in place and does not wobble. Once the faucet is secured, reattach any decorative caps or covers to conceal the mounting hardware and give the installation a polished look.
StepbyStep, follow the manufacturer’s instructions to ensure that the faucet is properly secured to the sink and will function correctly without any issues.
Step 5: Checking for Leaks
Some leaks may only become apparent after the faucet has been secured and the water is running. Turn on the water and check for any leaks around the base of the faucet, handles, or water supply connections. If you notice any leaks, shut off the water supply immediately and address the issue before continuing.
Step 6: Final Adjustments and Cleanup
Inspecting the faucet for any remaining leaks or loose fittings. Tweak any connections or components as needed to ensure a watertight seal. Once you are satisfied that the faucet is secure and leak-free, clean up any excess sealant or debris from the installation process and test the faucet for proper operation.
Step back to admire your work and enjoy your newly installed faucet, knowing that you have successfully completed the replacement process with confidence and accuracy.
Tips for a Smooth Faucet Replacement
Despite replacing a faucet being a relatively straightforward task, there are some common pitfalls that can make the process more challenging. By following these tips, you can ensure a smooth faucet replacement experience.
Avoiding Common Pitfalls
The key to a successful faucet replacement lies in careful preparation and attention to detail. One common mistake is not shutting off the water supply before starting the replacement process. This can lead to water leakage and potential damage to your fixtures. Another pitfall to avoid is rushing through the installation process without properly tightening all the connections. This can result in leaks and the need to redo the installation.
Ensuring a Watertight Seal
Some faucets come with rubber gaskets or O-rings that help create a watertight seal. It’s vital to inspect these components before installation to ensure they are in good condition. Additionally, applying plumber’s tape to the threads of the connections can help prevent leaks and ensure a secure seal. Taking these extra steps can save you time and frustration in the long run.
Another important aspect of ensuring a watertight seal is to check for any leaks once the installation is complete. Turn on the water supply and inspect the connections for any signs of leakage. If you notice any leaks, promptly tighten the connections or reapply plumber’s tape as needed.
Maintenance Tips to Prolong Faucet Life
- Regularly clean the aerator and spout to prevent buildup of debris and mineral deposits.
- Check for any leaks or drips and address them promptly to avoid water damage.
- Inspect the connections and components periodically to ensure everything is in good condition.
Assuming proper installation and maintenance, a faucet can last for many years without any issues. By following these maintenance tips, you can prolong the life of your faucet and keep it performing optimally.
- Thoroughly dry the faucet after each use to prevent water spots and mineral buildup.
- Regularly check for any loose or worn-out parts and replace them as needed to avoid further damage.
- Consider using a water filter to prevent mineral buildup and prolong the life of your faucet.
Tips for a successful faucet replacement and maintenance are crucial to ensuring a long-lasting and hassle-free experience. By following these guidelines, you can enjoy a smoothly functioning faucet for years to come.
Conclusion
Drawing together all the steps involved in replacing a faucet, it is clear that this task can be easily accomplished with the right tools and guidance. By following a systematic approach, from shutting off the water supply to testing the new faucet for leaks, you can successfully upgrade your bathroom or kitchen fixtures without the need for professional help.
Remember to take your time, read the manufacturer’s instructions carefully, and double-check your work at each stage to ensure a smooth and efficient installation process. By following this guide, you can save money on hiring a plumber and gain the satisfaction of completing a DIY project that enhances the look and functionality of your home.
FAQ
Q: Why should I consider replacing my faucet?
A: There are several reasons to replace a faucet, such as improving the functionality, enhancing the aesthetics of your space, or fixing leaks and drips that waste water and increase your utility bills.
Q: What tools will I need to replace a faucet?
A: You will typically need an adjustable wrench, pliers, a screwdriver, plumber’s tape, and a bucket or container to catch any water that may drip during the process.
Q: How do I choose the right faucet for my sink?
A: Consider the sink’s mounting configuration, the number of holes available, the style and finish that complements your decor, and the features you desire, such as a pull-down sprayer or touchless operation.
Q: Can I replace a faucet myself, or should I hire a professional?
A: If you have some DIY experience and the necessary tools, you can often replace a faucet yourself by following the manufacturer’s instructions. However, if you’re unsure or uncomfortable with the process, it’s best to hire a professional plumber.
Q: How long does it take to replace a faucet?
A: The time to replace a faucet can vary depending on your experience level and the complexity of the installation. On average, it can take anywhere from 30 minutes to a few hours to complete the job.