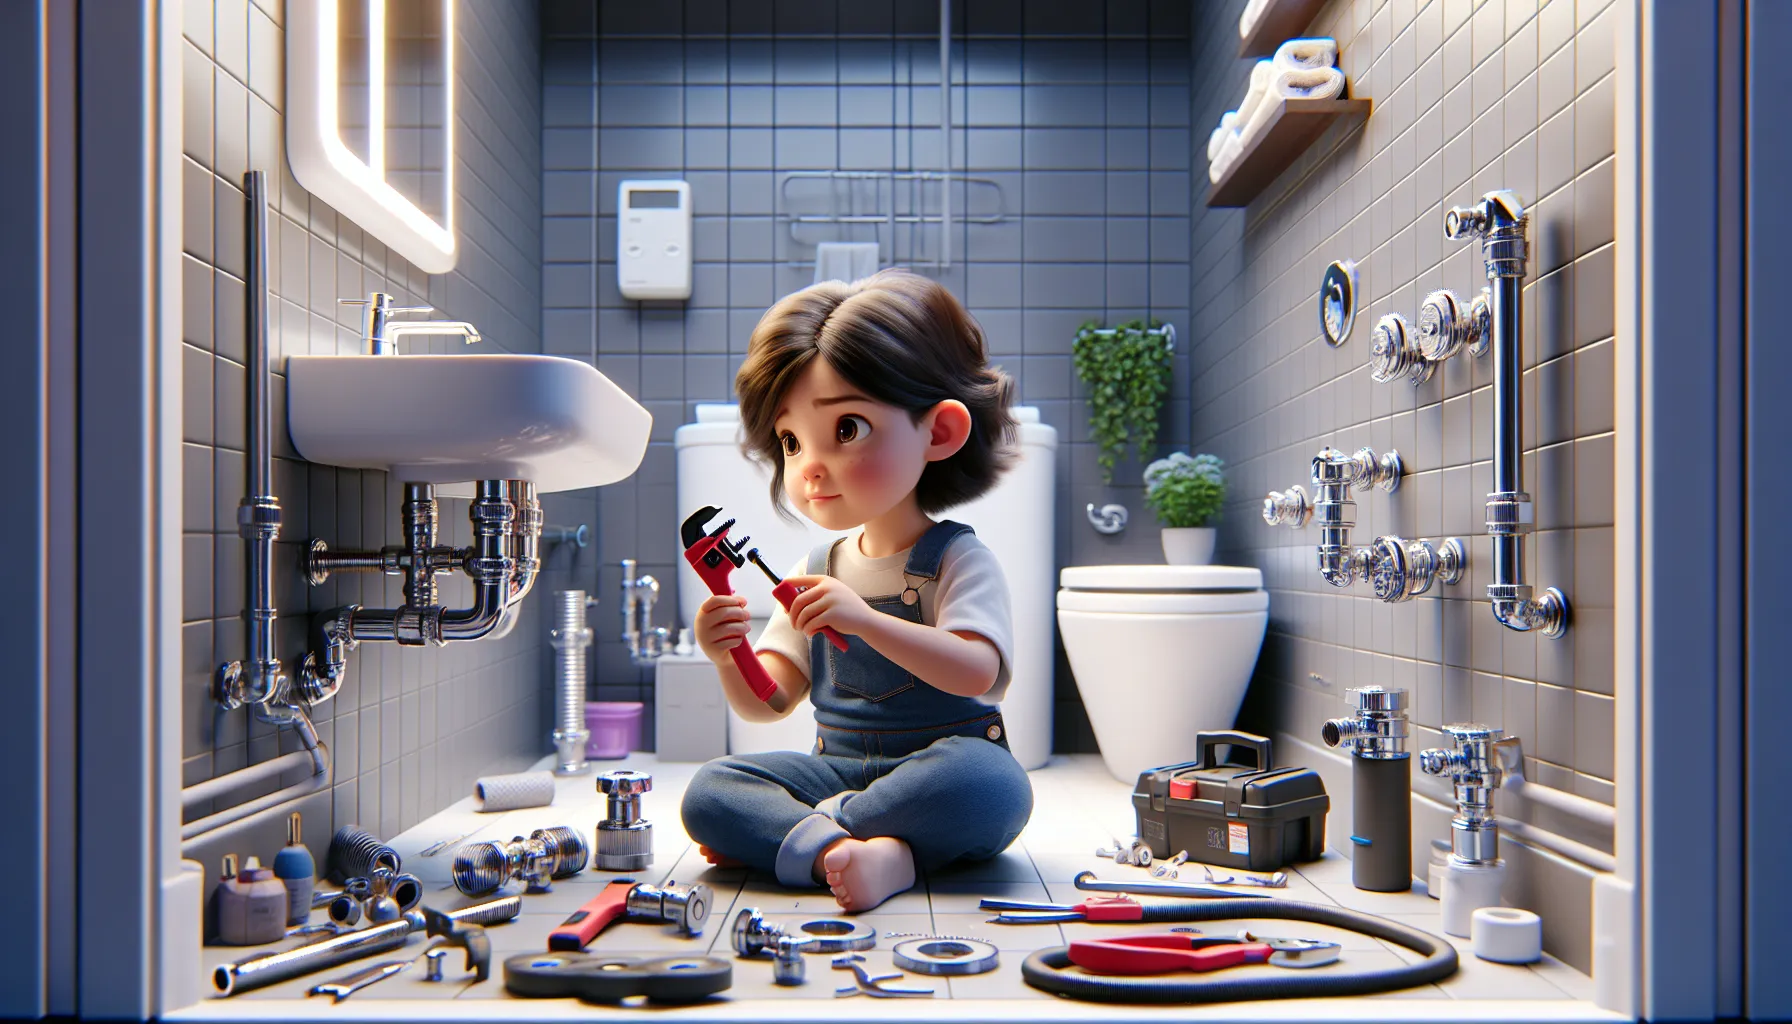
Just as a skilled conductor guides an orchestra to create beautiful music, you too can orchestrate the flow of water in your home with some basic plumbing know-how. Plumbing may seem daunting at first, but with the right tools and knowledge, you can become the maestro of your home’s water systems.
According to the U.S. Environmental Protection Agency, the average household’s leaks can account for nearly 10,000 gallons of water wasted every year. That’s enough to wash 300 loads of laundry! By learning to tackle simple plumbing tasks, you can not only save money but also contribute to water conservation efforts.
Let’s dive into the world of DIY plumbing and explore some beginner-friendly projects that can help you maintain your home’s plumbing system.
Beginner-Friendly Plumbing Projects
Let’s break down each of these projects with step-by-step instructions, required tools, and helpful tips.
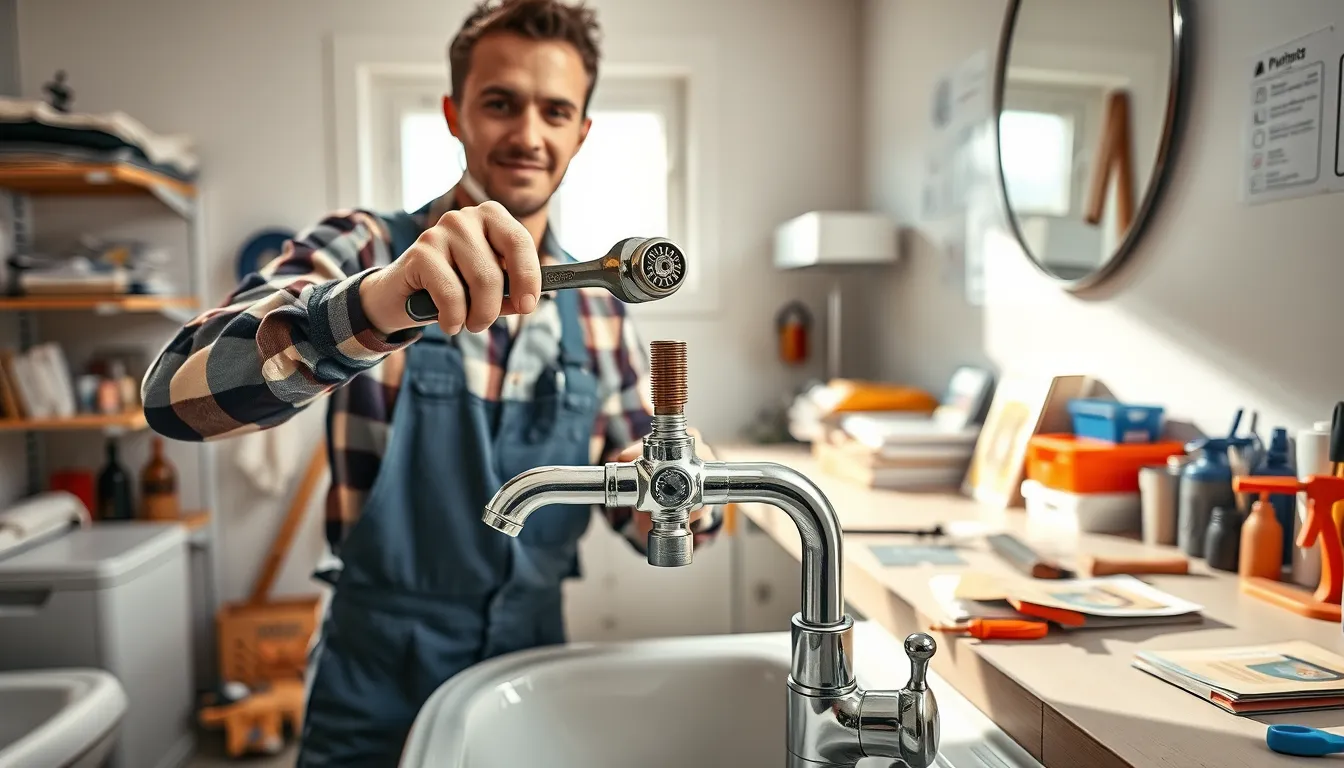
Fixing a Leaky Faucet
A dripping faucet is not only annoying but can waste a significant amount of water over time.
Tools and Materials Needed:
- Adjustable wrench
- Screwdriver (flathead and Phillips)
- Replacement parts (washers, O-rings, or cartridge)
- Plumber’s grease
Step-by-Step Instructions:
- Turn off the water supply to the faucet using the shutoff valves under the sink.
- Remove the faucet handle by unscrewing the decorative cap and removing the screw underneath.
- Use the wrench to remove the packing nut and pull out the stem assembly.
- Inspect the parts for wear and tear. Common culprits are worn-out washers or O-rings.
- Replace the faulty parts with new ones, applying a small amount of plumber’s grease to ensure smooth operation.
- Reassemble the faucet in reverse order.
- Turn the water supply back on and test the faucet for leaks.
Troubleshooting:
If the leak persists, you may need to replace the entire cartridge. Consult your faucet’s manual for the correct replacement part.
Unclogging Drains
Slow or clogged drains are a common household nuisance that can often be resolved without calling a plumber.
Tools and Materials Needed:
- Plunger
- Drain snake or auger
- Baking soda and vinegar
- Boiling water
Step-by-Step Instructions:
- Start with the simplest method: pour boiling water down the drain to loosen any grease or soap residue.
- If that doesn’t work, use a plunger. Fill the sink or tub with a few inches of water and plunge vigorously for 30 seconds.
- For stubborn clogs, try the baking soda and vinegar method:
a. Pour 1/2 cup of baking soda down the drain.
b. Follow with 1/2 cup of white vinegar.
c. Cover the drain and let it sit for 15 minutes.
d. Flush with hot water. - If the clog persists, use a drain snake:
a. Insert the snake into the drain and turn the handle to feed it through.
b. When you feel resistance, continue turning to break up the clog.
c. Slowly retract the snake and flush the drain with hot water.
Troubleshooting:
If these methods don’t work, the clog may be deeper in the plumbing system, and you may need to call a professional.
Replacing a Showerhead
Upgrading your showerhead can improve water pressure and efficiency.
Tools and Materials Needed:
- Adjustable wrench
- Teflon tape
- New showerhead
- Clean rag
Step-by-Step Instructions:
- Remove the old showerhead by turning it counterclockwise. Use the wrench if it’s stuck.
- Clean the shower arm threads with a rag to remove any old tape or debris.
- Wrap 3-4 layers of Teflon tape clockwise around the shower arm threads.
- Hand-tighten the new showerhead onto the shower arm.
- Use the wrench to give it an additional quarter turn, being careful not to overtighten.
- Turn on the water to check for leaks and adjust as necessary.
Troubleshooting:
If you notice leaks, remove the showerhead and add more Teflon tape to ensure a proper seal.
Installing a New Toilet Flapper
A faulty flapper can cause a toilet to run continuously, wasting water and increasing your bill.
Tools and Materials Needed:
- New toilet flapper
- Bucket
- Sponge
Step-by-Step Instructions:
- Turn off the water supply to the toilet and flush to empty the tank.
- Remove any remaining water with a sponge and bucket.
- Unhook the old flapper from the flush lever chain and the pins on the overflow tube.
- Clean the area around the flush valve seat.
- Install the new flapper by attaching it to the pins on the overflow tube.
- Connect the chain to the flush lever, leaving a little slack.
- Turn the water supply back on and let the tank fill.
- Test flush several times to ensure proper operation.
Troubleshooting:
If the toilet continues to run, adjust the chain length to ensure the flapper closes completely after each flush.
Fixing a Running Toilet
A running toilet can waste hundreds of gallons of water if left unaddressed.
Tools and Materials Needed:
- Adjustable wrench
- Replacement fill valve (if necessary)
- Replacement flapper (if necessary)
Step-by-Step Instructions:
- Remove the tank lid and flush the toilet, observing the mechanisms.
- Check if the flapper is sealing properly. If not, follow the steps for replacing the flapper.
- If the flapper isn’t the issue, check the fill valve:
a. Adjust the float arm or cup to lower the water level below the top of the overflow tube.
b. If adjusting doesn’t work, you may need to replace the fill valve:
i. Turn off the water supply and flush the toilet.
ii. Disconnect the water supply line from the fill valve.
iii. Unscrew the locknut holding the fill valve in place and remove it.
iv. Install the new fill valve and reconnect everything. - Turn the water back on and test the toilet.
Troubleshooting:
If problems persist, there may be an issue with the flush valve seat, which might require professional assistance.
Replacing a Sink Aerator
A clogged or damaged aerator can affect water flow and pressure.
Tools and Materials Needed:
- Adjustable wrench or pliers
- New aerator
- White vinegar
- Old toothbrush
Step-by-Step Instructions:
- Unscrew the aerator from the faucet spout. Use a cloth-wrapped wrench if it’s stuck.
- If the aerator is just clogged, soak it in white vinegar for a few hours and clean with a toothbrush.
- If replacing, take the old aerator to the hardware store to ensure you get the right size.
- Screw the new aerator onto the faucet spout hand-tight.
- Turn on the water to check for leaks and proper flow.
Troubleshooting:
If you notice leaks, tighten the aerator slightly with the wrench. Be careful not to overtighten, as this can damage the threads.
Insulating Pipes
Insulating pipes can prevent freezing in cold weather and improve energy efficiency.
Tools and Materials Needed:
- Pipe insulation sleeves
- Tape measure
- Utility knife
- Duct tape
Step-by-Step Instructions:
- Measure the length and diameter of the pipes you want to insulate.
- Cut the insulation sleeves to the appropriate length.
- Open the slit in the insulation and place it around the pipe.
- Peel off the adhesive strip (if present) and press the edges together.
- Use duct tape to secure the seams and ends of the insulation.
- Pay special attention to corners and joints, ensuring complete coverage.
Troubleshooting:
If you have pipes in extremely cold areas, consider using heat tape beneath the insulation for added protection.
Important Safety Tips and Precautions
- Always turn off the water supply before starting any plumbing project.
- Wear safety glasses to protect your eyes from debris and water spray.
- Use caution when working with tools to avoid injury.
- Be aware of your limits – if a project seems too complex, don’t hesitate to call a professional.
- Familiarize yourself with the location of your main water shutoff valve in case of emergencies.
- Avoid using chemical drain cleaners excessively, as they can damage pipes over time.
- When working on toilets or drains, wear rubber gloves to protect against bacteria.
When to Seek Professional Assistance
While many plumbing tasks can be DIY projects, some situations require professional help:
- Major leaks or flooding
- Sewer line problems
- Water heater issues (especially gas water heaters)
- Low water pressure throughout the house
- Frozen pipes
- Installing new plumbing fixtures or rerouting pipes
- Any task that requires permits or must meet local building codes
Practical Tips from Seasoned DIYers
- “Always have a bucket and towels handy when working on plumbing projects.” – Tom, DIY enthusiast for 20 years
- “Take pictures before disassembling anything. It helps when putting things back together.” – Sarah, home improvement blogger
- “Invest in a good set of plumbing tools. Quality tools make the job easier and last longer.” – Mike, retired plumber
- “Keep a plumbing repair kit with common parts like washers and O-rings. It saves trips to the hardware store.” – Lisa, homeowner
FAQs
Q: How often should I check for leaks in my home?
A: It’s a good idea to do a thorough check for leaks every six months, paying special attention to areas under sinks, around toilets, and near water heaters.
Q: Can I use a plunger on both sinks and toilets?
A: Yes, but it’s best to use separate plungers for sinks and toilets for hygiene reasons. Toilet plungers typically have a flange for better sealing.
Q: Is it normal for pipes to make noise?
A: Some noise is normal, but loud banging or persistent rattling could indicate issues like high water pressure or loose pipes that need attention.
Q: How can I prevent frozen pipes?
A: Insulate pipes in unheated areas, keep cabinet doors open to allow warm air circulation, and let faucets drip slightly during extremely cold weather.
Q: What’s the best way to avoid clogged drains?
A: Use drain strainers to catch hair and debris, avoid pouring grease down the drain, and flush drains regularly with hot water.
Conclusion
Mastering these basic plumbing skills can save you money, prevent water waste, and give you a sense of accomplishment. Remember, plumbing is all about controlling the flow of water – with practice, you’ll become more confident in handling these tasks.
We encourage you to start with a simple project like replacing a showerhead or fixing a leaky faucet. As you gain experience, you can tackle more complex tasks. Don’t forget to share your DIY plumbing successes with friends and family – you might inspire others to learn these valuable skills too!