Did you know that the simple act of installing an air chamber in your home plumbing can prevent all sorts of headaches like those annoying banging noises? You’ve heard about water hammer, right? It’s when you hear clanging and rattling from your pipes—super frustrating! But fear not, because we’ve got a journey into the world of DIY plumbing tools for air chamber installation. It’s like having your very own toolkit for your waterworks adventure! Imagine never having to panic at the sound of water crashes again. Let’s dive in and figure out what essential tools you’ll need in your trusty DIY arsenal.
Understanding the Basics of Air Chamber Installation
Alright, let’s get down to the basics here. Air chambers are like the unsung heroes of plumbing. These nifty devices act like a cushion for water flow. Picture this: You’re turning off your faucet and the water suddenly stops. Without an air chamber, that water doesn’t just gently stop. Nope, it can crash against the inside of your pipes, making that bothersome sound known as water hammer. Talk about a wake-up call! Imagine if that could happen multiple times a day. So, an air chamber’s job is to absorb that shock. Simple, right?
I remember the first time I installed an air chamber. I thought, “How hard can this be?” Boy, was I in for a surprise! My first mistake was underestimating how much patience it would actually need. You have to ensure each connection is tight and snug. Loose fittings can lead to leaks which aren’t just annoying but could also be costly. Take it from me, double-checking each step is worth it. There I was, soaked but triumphant, at finally hearing silence after turning off the taps.
One tip from experience is don’t rush it. Seriously, slow and steady wins the race in plumbing. Make sure you’ve shut off your water supply before starting—sounds obvious, but it’s an honest mistake that can turn your bathroom into a mini water park. In the end, understanding air chamber installation really boils down to understanding how your home’s plumbing works. It’s not just about sticking something on a pipe; that’s why planning each step is crucial.
Must-Have Plumbing Tools for DIY Projects
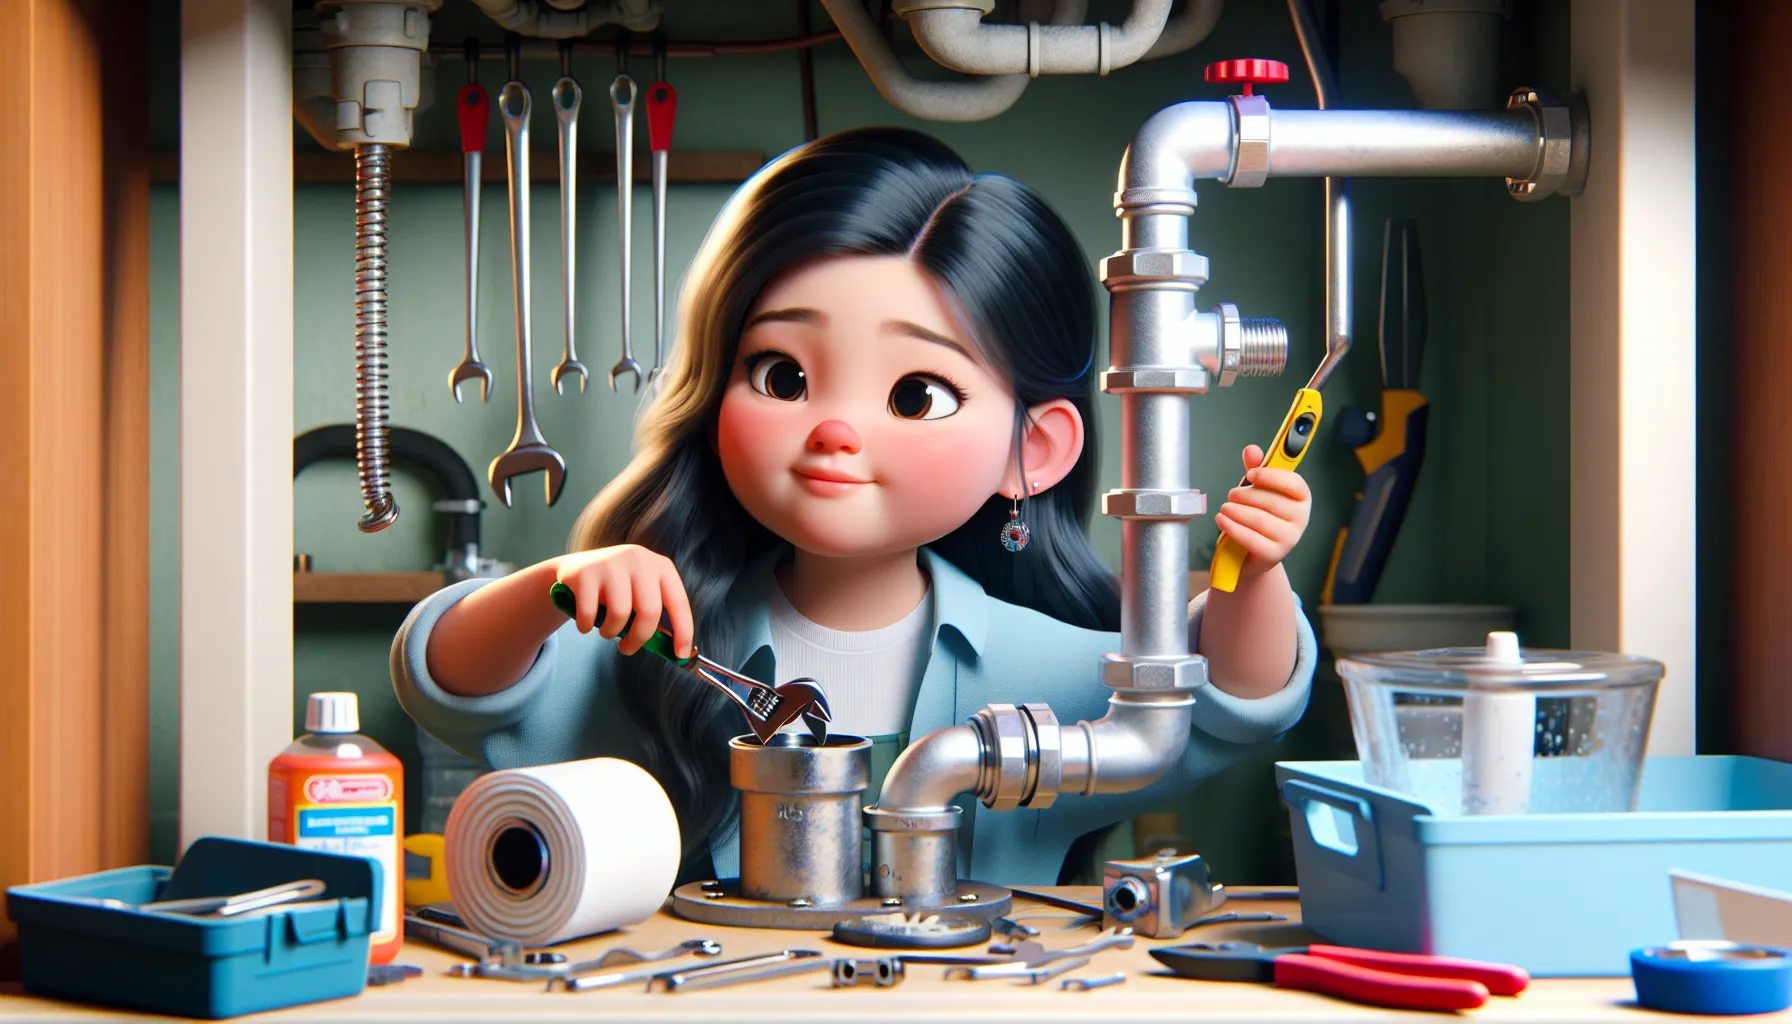
Let’s dive into the toolbox! Trust me, having the right plumbing tools can make you feel like a pro. When it comes to easy pipe fitting, you need tools that are both versatile and sturdy. For starters, an adjustable wrench is a must. This is the bread and butter of any plumbing project. My go-to adjustable wrench has saved me more times than I can count, especially when threading pipes. You don’t want to end up with a loose-fitting, right?
Another essential is the pipe wrench. It looks fierce, and let’s be honest, it’s a beast when it comes to gripping pipes. The last thing you want is a slippery situation when tightening. I’ve had my fair share of adventures dropping pipes and chasing after them—believe you me, it’s a workout! A basin wrench is perfect for those awkward, out-of-reach spots under the sink. It’s like having an extra-long arm when you need it. Trust me, you’ll thank yourself when you’re not squishing your hand trying to tighten that last bolt.
And, oh boy, don’t forget about patience! Every DIY project needs its fair share of “take a breather” moments. I mean, sometimes things just won’t go right on the first try. It’s completely fine! One time, I battled with a stubborn pipe that refused to fit snugly. After a dozen attempts (plus a healthy dose of frustration), it finally sat right. The lesson here? Persistence pays off, and so does having the right set of tools. So, make sure to stock your toolkit wisely before starting out.
Additional Home Improvement Tools
Hey, let’s not forget about the extras in your toolkit—those little lifesavers that make plumbing almost bearable. First up is the pipe cutter. You know, I first thought a hacksaw would do the trick. Spoiler alert: it’s not the easiest way to slice through a pipe. If you’ve ever wrestled with metal pipes, you know what I mean. A pipe cutter offers cleaner cuts and saves you time and hassle.
Alright, listen up: A tape measure might not seem like a super tool, but trust me, it’s got your back. In plumbing, every inch counts, literally. Having a reliable tape measure ensures your cuts and fittings are spot-on. Oh, and don’t forget the marker! After all, you don’t want to forget the exact spot you measured just while grabbing a snack.
And, of course, no toolkit is full without plumber’s tape. This magical stuff seals joints so water doesn’t sneak through. When you wrap it around your pipe threads, you magically prevent leaks. It’s a game-changer! I recall thinking I could make do without it, but after a couple of drips here and there, I quickly learned my lesson. A good quality plumber’s tape can be the difference between success and a soggy mess.
Maintaining your tools helps them last longer, and being organized saves you from that dreaded “where did I put that…?” search. It’s like leaving a breadcrumb trail to your ultimate DIY success. There’s something so satisfying about having everything lined up and ready to go. So maybe consider investing a little time in organizing your space for a stress-free plumbing experience.
Specialized Tools for Air Chamber Installation
Alright, here’s where we get into the nitty-gritty for air chamber installation. Time to talk specialized tools! Besides the basics, having the right gear for air chamber install is super crucial. Let’s start with the magic of plumber’s tape (again). This tape isn’t just for sealing; it stops pesky leaks that could turn your neat project into a soggy saga.
Then there’s the other stars of the supply: tees, elbows, and connectors. These little components are like the unsung heroes of plumbing connectors. They let you create innovative, magical pathways for water to flow. It’s like Lego for pipes! Experimenting with different arrangements gives you flexibility. Picture this: you decide mid-project you want to change the water direction. With a few connectors and a plan B, you can make magic!
Many have underestimated the power of these supplies. I once opted to skip extra connectors (big mistake), thinking I had everything covered. But lo and behold, I had to make an extra trip to the hardware store—frustrating and time-consuming! Nowadays, I always keep spares around, just in case. It really saves you in a pinch.
This whole air chamber project does sound like a challenge at first, but with the right specialized tools, it’s absolutely doable. I mean, who doesn’t love the sense of achievement when the water turns on without a crashing symphony? Pipe down, stress up—it’s a win-win with the right supplies. Arm yourself well, and make air chamber installation a breeze!
Step-by-Step Guide to DIY Plumbing Air Chamber Installation
Let’s roll up those sleeves and get to work! Installing an air chamber might seem tricky at first, but breaking it down makes it simpler. First things first: always shut off the water supply. Trust me; I learned this the hard way once, leaving a minor flood on the bathroom floor. You wouldn’t want that—unless you’re up for a swim!
Once you’ve found the sweet spot to install your air chamber, make sure to measure twice, cut once. Having your pipe cutter and tape measure ready is crucial. I’ve definitely had moments where eyeballing didn’t quite work out. Planning each cut is smart work!
You’re not far now: once everything’s measured and cut, use your plumber’s tape, winding it neatly to ensure your fittings are tight. Picture your fittings as puzzle pieces that need to fit just right. Struggling to fit one piece means you’ve got to rethink the arrangement. Persistence is key! Check out for any drips or leaks by turning on the water slowly once you’ve wrapped things up. If all went well, there should be no leaks and no hammers—a sweet success.
It’s the simple victories that make the journey worthwhile. Keep this completed project under your belt; it’s an accomplishment! And hey, why not share your story with friends? Maybe you’ll inspire a neighbor to take up their own plumbing challenge. Their story can be your next DIY conquest! Proudly watch as the water flows without a hitch, all thanks to your handy polished skills.
FAQs
-
What size air chamber do I need for my plumbing system?
Choosing the right size depends on your pipe type and system pressure. As a rule of thumb, the chamber should be slightly larger than the pipe diameter.
-
How often should air chambers be replaced?
Air chambers typically last many years. However, you might need to reset or replace them if you start hearing water hammer again.
-
Can I install an air chamber myself, or should I hire a professional?
You can totally do this yourself if you’re comfortable with basic plumbing tasks! But hey, if you’re unsure, hiring a professional can save you time and stress.
-
What are the risks of not using an air chamber?
Without an air chamber, your pipes could literally shake with water hammer. Over time, this could lead to pipe damage and costly repairs.
-
Do I need any special permits to install an air chamber?
Generally, you don’t need a permit for maintenance tasks. But it’s always good to check with local regulations if you’re making significant plumbing changes.
Understanding air chamber installation is your gateway to a peaceful, thump-free home. Whether you’re a DIY wannabe or a seasoned vet, having the right tools is your golden ticket to success. No matter your skill level, you can totally apply these tips to your specific plumbing vibe at home. Make sure you follow safety steps—for you and for anyone else crazy enough to help you out. Why not drop a comment below and share your own tale of DIY triumphs or fails? Let’s learn and laugh together!


