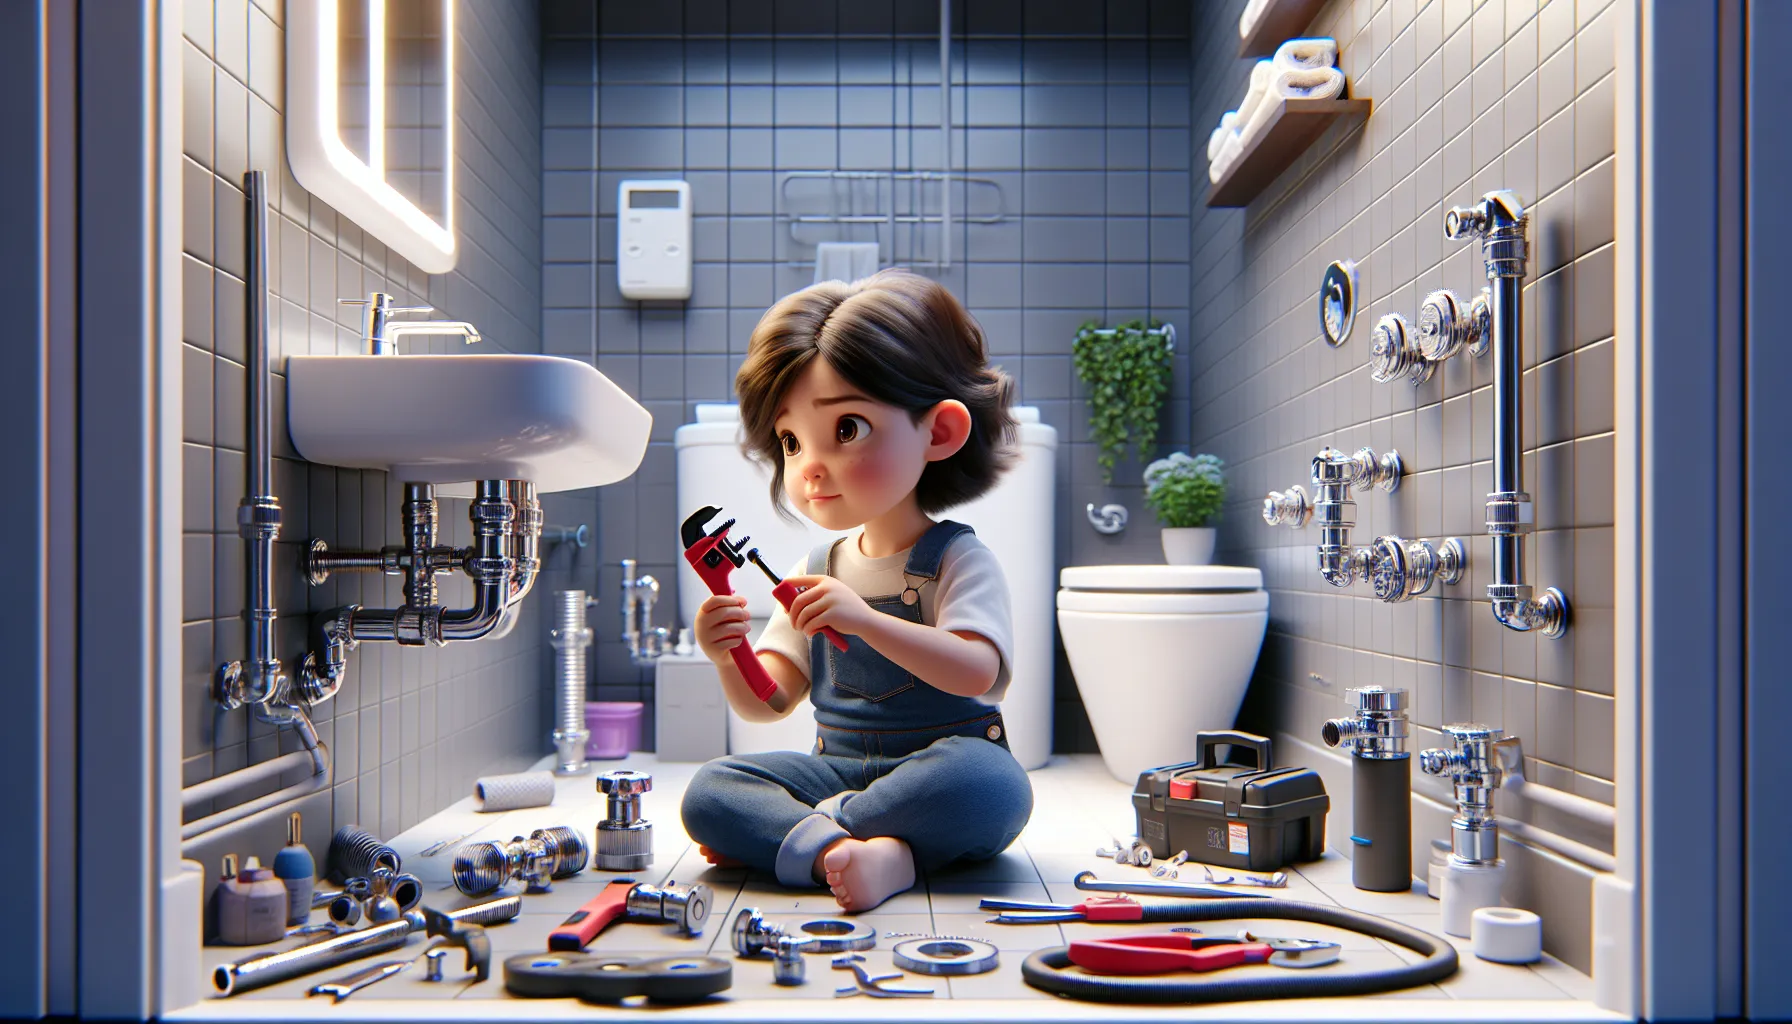
Just as a chef needs their trusty set of knives, a plumber requires a well-stocked toolbox to tackle the myriad of challenges that arise in the world of pipes, fixtures, and water flow. For beginners stepping into the realm of plumbing, having the right tools at your disposal can mean the difference between a successful repair and a flooded disaster. This comprehensive guide will equip you with knowledge about the essential plumbing tools every beginner should have, empowering you to handle common household plumbing tasks with confidence.
According to the U.S. Bureau of Labor Statistics, employment of plumbers, pipefitters, and steamfitters is projected to grow 5 percent from 2020 to 2030, about as fast as the average for all occupations. This statistic underscores the ongoing demand for plumbing skills and the importance of being well-equipped to meet this demand.
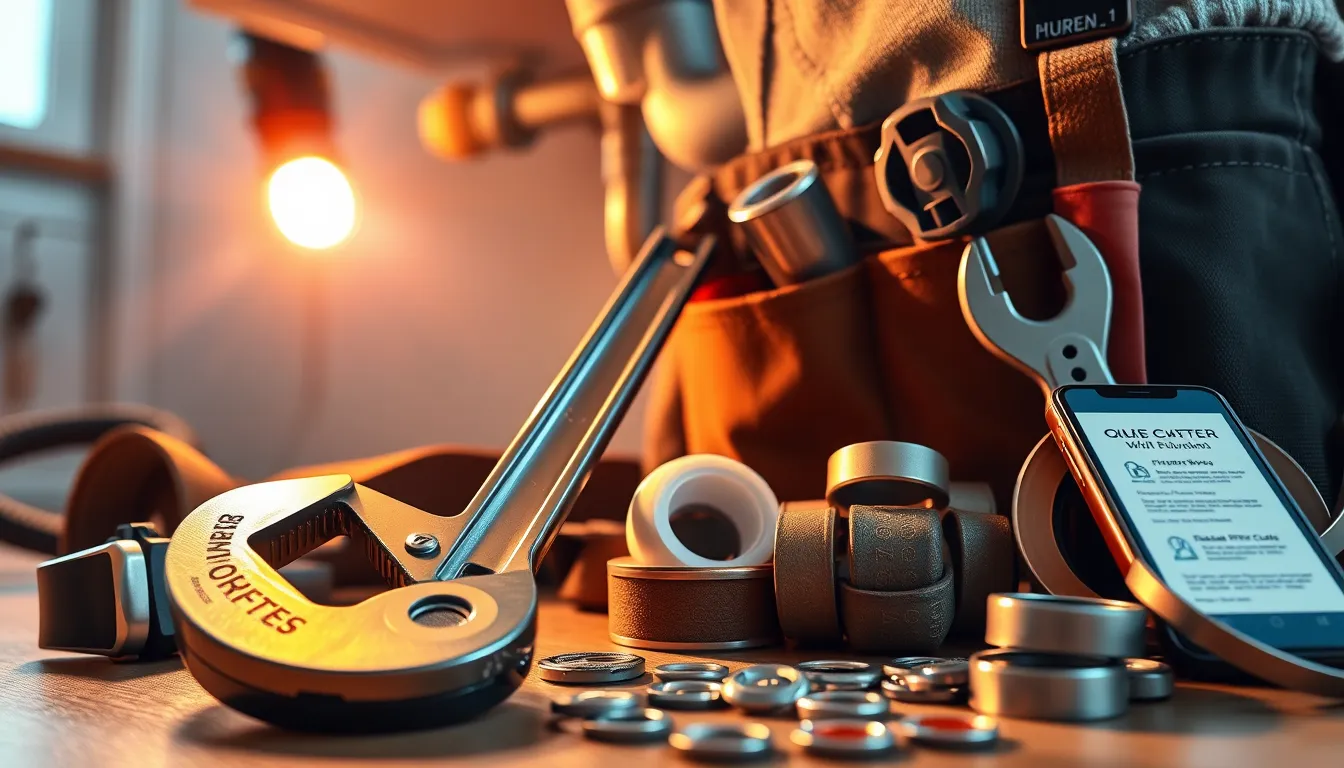
The Foundation of Your Plumbing Arsenal
Pipe Wrench: The Plumber’s Sidekick
The pipe wrench is arguably the most iconic tool in a plumber’s arsenal. This adjustable wrench is designed specifically for gripping and turning pipes and fittings. Its serrated jaws provide a firm grip on round surfaces, making it indispensable for tasks such as tightening or loosening threaded pipes.
When using a pipe wrench, remember to adjust it to fit snugly around the pipe without over-tightening, as this can damage the pipe’s surface. Always use two pipe wrenches when working on a connection – one to hold the pipe steady and the other to turn the fitting. This prevents unnecessary stress on the plumbing system.
For beginners, a 14-inch pipe wrench is a versatile size that can handle most household plumbing tasks. As you gain experience, you may want to invest in a set of different sizes to tackle a broader range of pipe diameters.
Plunger: The First Line of Defense
A plunger is often the first tool reached for when dealing with clogs, and for good reason. This simple yet effective tool uses suction to dislodge blockages in sinks, toilets, and drains. There are two main types of plungers:
- Cup Plunger: Ideal for flat surfaces like sinks and bathtubs.
- Flange Plunger: Designed specifically for toilets, with an extended rubber flap that fits into the bowl’s drain opening.
To use a plunger effectively, ensure there’s enough water to cover the plunger’s head. Create a tight seal around the drain and pump the plunger vigorously several times. The alternating pressure and suction can often clear minor clogs without the need for harsh chemicals or more invasive methods.
Plumber’s Tape: The Leak Preventer
Also known as Teflon tape or thread seal tape, plumber’s tape is a thin, white tape used to create a watertight seal on threaded pipe connections. This inexpensive tool is crucial for preventing leaks in plumbing joints.
To apply plumber’s tape, wrap it around the male threads of the pipe fitting in a clockwise direction, overlapping each layer slightly. Use 3-4 wraps for most applications. The tape should be snug but not so tight that it tears. When the connection is assembled, the tape fills the minute gaps between the threads, creating a seal that prevents water from seeping through.
Adjustable Wrench: The Versatile Companion
While not exclusively a plumbing tool, an adjustable wrench is invaluable for various plumbing tasks. Its adjustable jaw allows it to fit a range of nut and bolt sizes, making it perfect for tasks like tightening or loosening compression fittings, nuts on supply lines, and other non-round fasteners.
When using an adjustable wrench, always adjust it to fit snugly on the nut or bolt to prevent slipping and potential damage. Turn the wrench so that the force is applied to the fixed jaw rather than the movable one for maximum strength and control.
Basin Wrench: The Tight Space Navigator
A basin wrench is a specialized tool designed to reach and turn nuts in tight spaces, particularly under sinks where access is limited. Its long shaft and pivoting jaw make it ideal for installing or removing faucets and other fixtures in confined areas.
To use a basin wrench, extend the shaft to the appropriate length and position the jaws around the nut you need to turn. The spring-loaded jaw will grip tighter as you apply force to turn the handle. Remember to turn clockwise to tighten and counterclockwise to loosen.
Pipe Cutter: The Clean Cut Creator
For tasks that require cutting pipes, a pipe cutter is an essential tool. It provides cleaner, more precise cuts than a hacksaw, which is crucial for ensuring proper fits and preventing leaks. There are different types of pipe cutters for various materials:
- Wheel Cutter: For copper and thin-walled metal pipes.
- Plastic Pipe Cutter: Specifically designed for PVC and other plastic pipes.
To use a pipe cutter, place it around the pipe at the desired cutting point and tighten the adjustment knob. Rotate the cutter around the pipe, gradually tightening the knob after each rotation until the pipe is cleanly cut through.
Plumber’s Snake: The Clog Conqueror
For more stubborn clogs that a plunger can’t handle, a plumber’s snake (also known as a drain auger) is the tool of choice. This flexible cable can navigate through pipes to reach and break up or retrieve blockages deep within the plumbing system.
To use a plumber’s snake, feed the cable into the drain opening and turn the handle to advance it through the pipe. When you feel resistance, you’ve likely reached the clog. Continue to turn the handle, allowing the snake to either break up the obstruction or hook onto it so you can pull it out.
Hacksaw: The All-Purpose Cutter
While not as precise as a pipe cutter, a hacksaw is a versatile tool that can cut through various materials, including metal pipes, plastic pipes, and even bolts. It’s particularly useful when working in tight spaces where a pipe cutter might not fit.
When using a hacksaw, ensure the blade is taut and the teeth are facing forward. Use steady, even strokes, and let the weight of the saw do most of the work. For cleaner cuts, mark your cutting line clearly and use a guide if possible.
Plumber’s Putty: The Watertight Sealant
Plumber’s putty is a soft, pliable sealant used to create watertight seals around fixtures like faucets, drains, and sink edges. Unlike caulk, it doesn’t harden completely, allowing for easier future repairs or replacements.
To use plumber’s putty, roll it into a thin rope and apply it around the base of the fixture before installation. When the fixture is tightened down, the putty will compress to form a watertight seal. Remove any excess putty that squeezes out with your fingers or a putty knife.
Safety Gear: Protecting Your Most Important Tool
While not a tool in the traditional sense, safety gear is crucial for any plumbing work. Essential safety items include:
- Safety Glasses: Protect your eyes from debris, splashing water, and chemicals.
- Work Gloves: Guard your hands against cuts, scrapes, and chemical exposure.
- Knee Pads: Essential for comfort when working on floors for extended periods.
Always prioritize safety when undertaking any plumbing task, no matter how small it may seem.
Budget-Friendly Options for Beginners
For those just starting out, investing in high-quality tools can be daunting. However, there are budget-friendly options that don’t compromise on quality:
- Look for starter tool kits that include basic plumbing tools at a discounted price.
- Consider purchasing second-hand tools from reputable sources.
- Opt for mid-range brands that offer a good balance of quality and affordability.
- Prioritize essential tools first and gradually build your collection as you take on more complex projects.
Remember, it’s better to have a few high-quality tools than a large collection of subpar ones.
Maintaining Your Plumbing Tools
Proper maintenance of your plumbing tools not only extends their lifespan but also ensures they perform optimally when you need them. Here are some tips:
- Clean tools after each use to prevent rust and buildup.
- Store tools in a dry place to prevent corrosion.
- Regularly inspect tools for wear and damage, replacing them when necessary.
- Keep cutting tools sharp for efficient and safe operation.
- Lubricate moving parts on tools like pipe wrenches and pliers to maintain smooth operation.
Common Plumbing Tasks for Beginners
With these essential tools in your arsenal, you’ll be equipped to handle various common plumbing tasks, including:
- Fixing a leaky faucet
- Unclogging drains
- Replacing a toilet flapper
- Installing a new showerhead
- Tightening loose pipe connections
As you gain confidence and experience, you can gradually take on more complex projects, always remembering to prioritize safety and know when to call in a professional for tasks beyond your skill level.
FAQs
Q: Do I need all these tools to start doing basic plumbing tasks?
A: While having all these tools is ideal, you can start with the basics like a plunger, adjustable wrench, and plumber’s tape for simple tasks. Gradually build your collection as you take on more complex projects.
Q: How often should I replace my plumbing tools?
A: The lifespan of plumbing tools varies depending on usage and maintenance. Regularly inspect your tools for wear and damage, replacing them when they no longer function safely or effectively.
Q: Can I use regular tape instead of plumber’s tape?
A: No, regular tape is not designed to create watertight seals in plumbing applications. Always use specific plumber’s tape (Teflon tape) for threaded pipe connections.
Conclusion
Equipping yourself with the right plumbing tools is the first step towards becoming a capable DIY plumber. By understanding the function and proper use of each tool, you’ll be well-prepared to tackle common household plumbing issues with confidence. Remember, practice makes perfect, so don’t be afraid to start with small projects and work your way up to more complex tasks.
As you embark on your plumbing journey, we encourage you to share your experiences and tips with fellow beginners. Whether it’s a successful repair or a lesson learned, your insights can be invaluable to others in the DIY plumbing community. Consider sharing your next plumbing project on social media, using hashtags like #DIYPlumbing or #PlumbingTips to connect with like-minded enthusiasts.