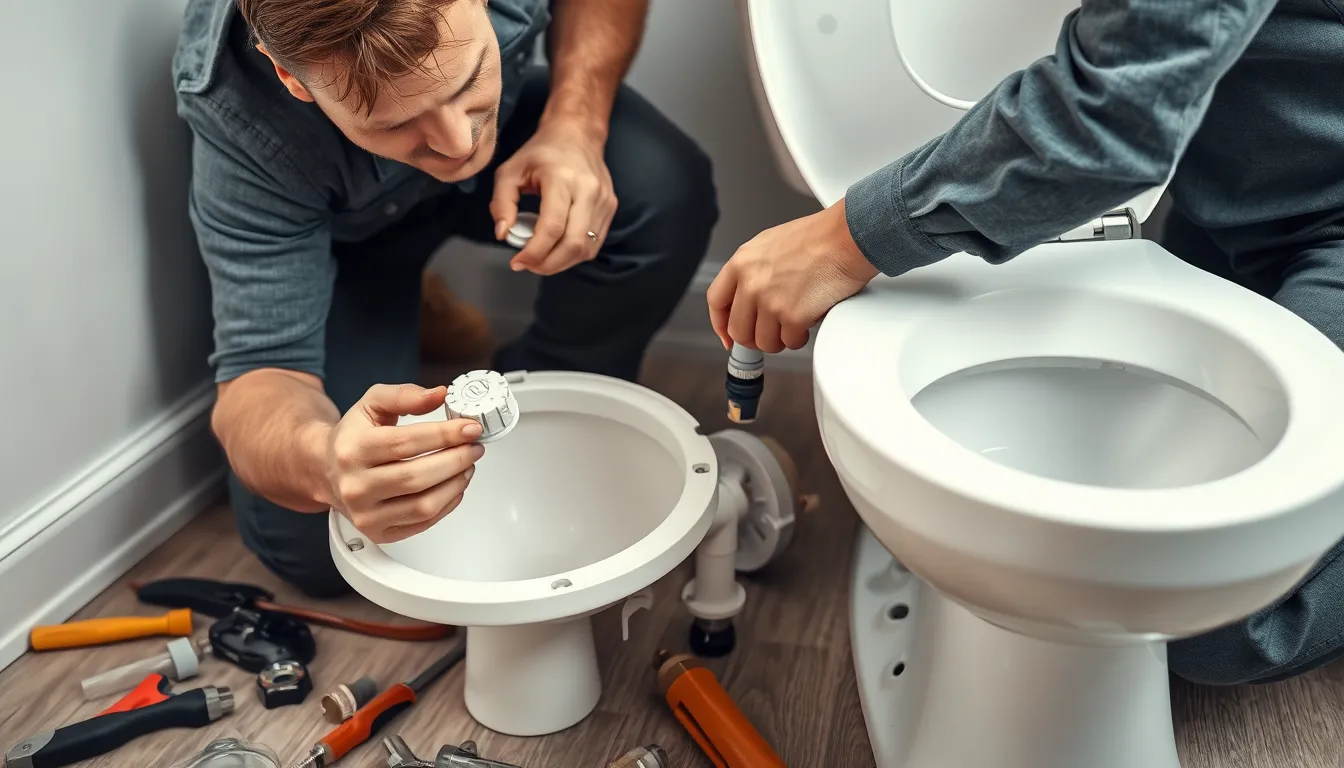
Just as the heart is the central organ of our body, the toilet is the heart of our home’s plumbing system. When it’s working well, we hardly notice it, but when problems arise, it can disrupt the entire household. As a plumber with 25 years of experience, I’ve seen it all when it comes to toilet troubles, and I’m here to share my knowledge with you in this comprehensive guide to common toilet repair issues.
Did you know that according to the U.S. Environmental Protection Agency, a leaky toilet can waste up to 200 gallons of water per day? That’s a significant amount of water and money going down the drain!
In this extensive guide, we’ll explore common toilet issues, how to diagnose them, and provide step-by-step instructions for repairs. We’ll cover everything from running toilets to stubborn clogs, and even tackle more complex issues like leaks and tank problems. So, let’s roll up our sleeves and dive into the world of toilet repair!
Common Toilet Issues and Their Fixes
Running Toilet
A running toilet is not only annoying but can waste a substantial amount of water, leading to increased water bills and environmental concerns. This common toilet repair issue is often easier to fix than you might think.
Diagnosis:
- Listen for water continuously running into the bowl.
- Check if the water level in the tank is above the overflow tube.
- Look for ripples in the bowl water when the toilet hasn’t been used recently.
Tools and Materials Needed:
- Adjustable wrench
- Replacement fill valve (if necessary)
- Replacement flapper (if necessary)
- Screwdriver
- Pliers
- Bucket
- Sponge or towels
Step-by-Step Repair:
- Remove the tank lid carefully and set it aside on a towel to prevent damage.
- Flush the toilet and observe the mechanisms in action. This will help you identify which part is malfunctioning.
- Check the flapper:
- If it’s not sealing properly, inspect it for wear, debris, or misalignment.
- Clean the flapper and the area it seals against with a sponge to remove any buildup.
- If cleaning doesn’t solve the issue, you may need to replace the flapper:
a. Turn off the water supply to the toilet using the shutoff valve.
b. Flush the toilet to drain the tank.
c. Unhook the old flapper from the flush valve chain and the ears on the overflow tube.
d. Attach the new flapper to the ears on the overflow tube.
e. Connect the chain to the flush lever, leaving a little slack.
- Inspect the fill valve:
- If the water level is too high, adjust the float arm or cup:
a. For ball floats, bend the arm slightly downward to lower the water level.
b. For cup floats, squeeze the clip on the side of the fill valve and slide the cup down. - If adjusting doesn’t work, you may need to replace the fill valve:
a. Turn off the water supply and flush the toilet to drain the tank.
b. Disconnect the water supply line from the fill valve.
c. Unscrew the locknut holding the fill valve to the tank and remove the old valve.
d. Install the new fill valve, making sure it’s securely fastened.
e. Reconnect the water supply line and adjust the float to the proper level.
- If the water level is too high, adjust the float arm or cup:
- Turn the water back on and let the tank fill.
- Test the toilet by flushing several times to ensure the problem is resolved.
Remember, a running toilet is one of the most common toilet repair issues, and fixing it can lead to significant water savings.
Clogged Toilet
A clogged toilet is perhaps the most dreaded of all toilet problems. It’s messy, inconvenient, and can potentially lead to overflows if not addressed promptly. Fortunately, most clogs can be resolved without calling a professional.
Diagnosis:
- Water rises in the bowl and doesn’t drain properly when flushed.
- Gurgling sounds when flushing or draining other nearby fixtures.
- Slow draining or bubbling when flushing.
Tools and Materials Needed:
- Toilet plunger (preferably a flange plunger)
- Toilet auger (for stubborn clogs)
- Rubber gloves
- Bucket
- Old towels or newspapers
- Enzyme-based drain cleaner (optional)
Step-by-Step Repair:
- Put on rubber gloves for hygiene and to protect your hands.
- If the bowl is full, remove some water using a bucket to prevent overflow during plunging.
- Place old towels or newspapers around the base of the toilet to catch any water splashes.
- Position the plunger over the bowl’s drain opening, ensuring a good seal:
- For best results, use a flange plunger, which has an extended rubber lip that fits into the drain for a better seal.
- Push down gently at first to release the air from the plunger, then plunge vigorously for about 20 seconds, maintaining the seal.
- Pull the plunger up sharply to break the seal. This creates suction that can help dislodge the clog.
- Repeat the plunging process several times if necessary.
- Flush the toilet to see if the clog has cleared.
- If plunging doesn’t work, it’s time to use a toilet auger:
- Insert the auger into the bowl with the curved end pointing into the drain.
- Turn the handle to feed the cable through until you feel resistance.
- Continue turning the handle to break up the clog.
- Slowly retract the auger, cleaning the cable as you pull it out.
- Flush the toilet to clear any debris and check if the clog is gone.
- For persistent clogs, consider using an enzyme-based drain cleaner, which is safer for pipes than chemical cleaners.
- If all else fails, it may be time to call a professional plumber, as the clog could be deeper in the plumbing system.
Leaking Toilet
A leaking toilet is not just a nuisance; it can lead to water damage, mold growth, and increased water bills. Leaks can occur in various parts of the toilet and should be addressed promptly to prevent further issues.
Diagnosis:
- Water pooling around the base of the toilet.
- Damp floor or ceiling below the toilet (for upper floor bathrooms).
- Cracks in the tank or bowl.
- Water dripping from the tank to the bowl when not in use.
Tools and Materials Needed:
- Adjustable wrench
- Screwdriver
- Replacement wax ring
- Silicone caulk
- Towels or sponges
- Putty knife
- New tank-to-bowl gasket (if necessary)
- Replacement bolts (if necessary)
Step-by-Step Repair:
- Identify the source of the leak:
- If it’s from the base, you likely need to replace the wax ring.
- If it’s from the tank, check the tank bolts and gaskets.
- If there are visible cracks, unfortunately, you’ll need to replace the toilet.
- To replace the wax ring (a common toilet repair issue):
a. Turn off the water supply using the shutoff valve near the toilet’s base.
b. Flush the toilet to drain the tank and bowl.
c. Disconnect the water supply line from the tank.
d. Remove the nuts securing the toilet to the floor, usually covered by plastic caps.
e. Gently rock the toilet back and forth to break the old wax seal.
f. Lift the toilet straight up and set it aside on an old towel.
g. Remove the old wax ring and clean the flange on the floor.
h. Install a new wax ring on the flange, making sure it’s centered.
i. Carefully lower the toilet back into place, making sure the bolts align with the holes.
j. Press down firmly to set the wax ring.
k. Secure the toilet with the nuts, alternating sides as you tighten to ensure even pressure.
l. Reconnect the water supply line and turn on the water.
m. Caulk around the base of the toilet, leaving a small gap at the back for leak detection. - For tank leaks:
- Tighten tank bolts if loose, but be careful not to overtighten and crack the porcelain.
- If tightening doesn’t work, you may need to replace the tank-to-bowl gasket:
a. Turn off the water and flush the toilet.
b. Disconnect the water supply line.
c. Remove the tank by unscrewing the tank bolts.
d. Replace the old gasket with a new one.
e. Reassemble the toilet, making sure all connections are secure but not overly tight.
- For cracks in the tank or bowl:
- Small hairline cracks in the tank might be repairable with a porcelain epoxy.
- For larger cracks or any cracks in the bowl, replacement of the entire toilet is usually necessary.
Key Safety Precautions for Toilet Repair
When tackling toilet repair issues, safety should always be your top priority. Here are some essential precautions to keep in mind:
- Always turn off the water supply before starting any repair. This prevents unexpected water flow and potential flooding.
- Wear rubber gloves to protect against bacteria and harmful cleaning agents.
- Be cautious of sharp edges on porcelain fixtures. Cracked or chipped porcelain can be extremely sharp.
- Avoid over-tightening bolts and connections to prevent cracks in the porcelain.
- Use proper lifting techniques when moving toilets to prevent back injury. Toilets are heavier than they look!
- Keep your work area clean and dry to prevent slips and falls.
- If using any chemical products, ensure proper ventilation in the bathroom.
- Never mix different types of cleaning agents, as this can produce harmful fumes.
- If you’re unsure about any step in the repair process, don’t hesitate to consult a professional.
Tips for Preventing Future Toilet Problems
Prevention is always better than cure, especially when it comes to toilet repair issues. Here are some tips to keep your toilet in top shape:
- Avoid flushing non-biodegradable items like wipes, cotton swabs, or dental floss. These can cause clogs and damage to your plumbing system.
- Clean your toilet regularly to prevent mineral buildup and stains. Use toilet-safe cleaning products to avoid damaging the porcelain or internal components.
- Address small issues promptly before they become major problems. A small leak can quickly turn into a big headache if ignored.
- Consider installing a water-efficient toilet to reduce water usage and potential issues. Modern low-flow toilets can save thousands of gallons of water per year.
- Perform a yearly maintenance check on all toilet components. This includes checking for leaks, ensuring the fill valve is working correctly, and inspecting the flapper for wear.
- Educate family members or housemates about proper toilet use and care. This includes not using the toilet as a trash can and reporting any issues they notice.
- Install a water softener if you live in an area with hard water. This can prevent mineral buildup in your toilet and other plumbing fixtures.
- Consider using a toilet tank cleaner tablet to keep the tank clean and prevent mineral deposits.
- If you’re going on vacation, flush the toilet and turn off the water supply to prevent any leaks or issues while you’re away.
When to Call a Professional for Toilet Repair
While many toilet repairs can be DIY projects, some situations require professional help. Here’s when you should consider calling a plumber:
- Persistent leaks that you can’t locate or fix after attempting the steps outlined in this guide.
- Cracks in the toilet bowl or tank that are too large to repair with epoxy.
- Sewer line blockages causing multiple fixture backups. This could indicate a more serious plumbing issue.
- Installation of a new toilet, especially if it requires moving the drain or modifying the plumbing system.
- Any repair that involves modifying the main plumbing lines or sewer connection.
- If you smell sewer gas, which could indicate a broken seal or vent pipe issue.
- Frequent clogging that persists despite your best efforts to clear it.
- If your DIY repairs don’t solve the problem or if you’re uncomfortable with any step in the process.
- When dealing with older toilets in historic homes, which may require specialized knowledge.
- If you notice any signs of water damage to the floor around the toilet, which could indicate a long-term leak.
Remember, a professional plumber has the tools, experience, and knowledge to diagnose and fix complex toilet repair issues quickly and efficiently. Sometimes, calling a pro can save you time, money, and frustration in the long run.
FAQs
Q: How often should I replace my toilet’s flapper?
A: Flappers typically last 4-5 years, but hard water can shorten their lifespan. Replace if you notice frequent running or leaks.
Q: Can I use chemical drain cleaners for toilet clogs?
A: It’s best to avoid chemical cleaners as they can damage pipes and porcelain. Stick to plunging or using an auger. If you must use a cleaner, opt for enzyme-based products.
Q: Why does my toilet make a gurgling sound?
A: Gurgling often indicates a partial clog or a venting issue in the plumbing system. Try plunging first, but if it persists, consult a plumber as it could be a more serious issue.
Q: How can I make my toilet more water-efficient?
A: Consider installing a dual-flush system or placing a filled water bottle in the tank to reduce water usage per flush. You can also upgrade to a modern low-flow toilet.
Q: Is it normal for condensation to form on my toilet tank?
A: In humid environments, this can be normal. You can install a tank liner or use a dehumidifier to reduce condensation. In severe cases, you might need to install an anti-sweat valve.
Q: How do I know if my toilet is leaking?
A: Add a few drops of food coloring to the tank. If the color appears in the bowl without flushing, you have a leak.
Q: Can I replace just the toilet tank or bowl, or do I need to replace the entire toilet?
A: While it’s possible to replace just one part, it’s often more cost-effective and ensures a better fit to replace the entire toilet.
Conclusion
Understanding and addressing common toilet repair issues can save you money, prevent water waste, and keep your bathroom functioning smoothly. Remember, most toilet problems are simpler to fix than they appear, and with the right tools and knowledge, you can handle many repairs yourself.
We encourage you to bookmark this ultimate guide to common toilet repair issues for future reference and share it with friends and family who might benefit from this information. If you’ve successfully tackled a toilet repair using these tips, why not share your experience on social media? Your success story might inspire others to take on their own home repairs!
By mastering these toilet repair skills, you’re not just fixing a household appliance – you’re contributing to water conservation efforts and taking control of your home maintenance. So the next time you hear that dreaded sound of a running toilet or face a stubborn clog, remember this guide and approach the problem with confidence. Happy plumbing!


